
So you got a flat on your most recent ride. What do you do? Well you could go to your local bike shop and get it fixed by a mechanic, or you could do it yourself. Replacing a tube is easy and I’ll show you how all bike mechanics fix your flats, because I used to be a bike mechanic myself. Once you learn all these ten easy steps, fixing a flat will only take minutes and get you back riding in no time.
Step 1: Set you bike up.
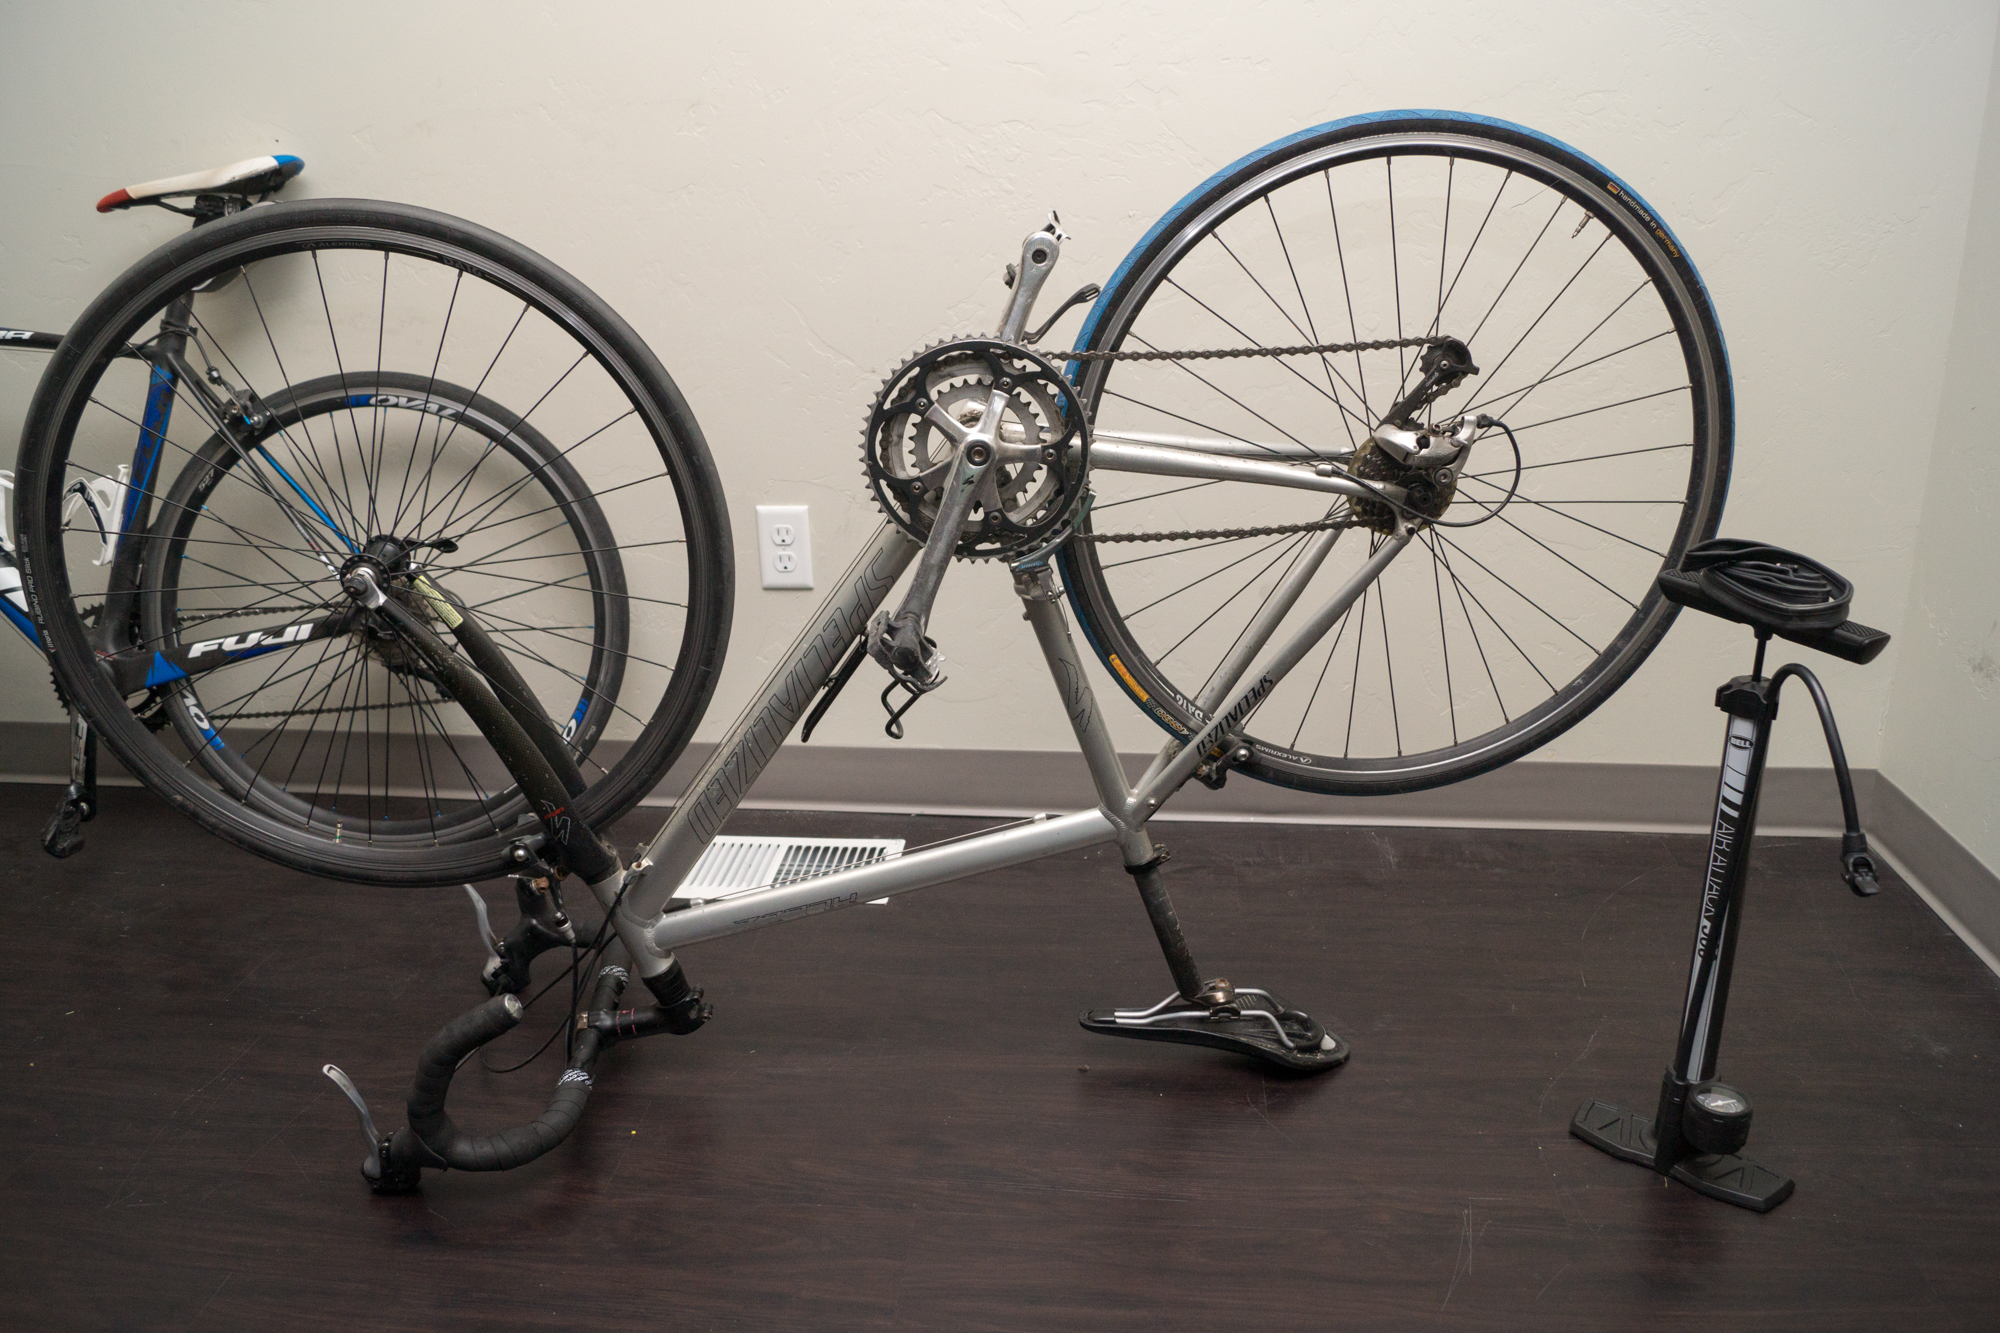
You need the materials: a bike pump, replacement tube and tire levers. If you have a bike stand, put it in, because that will not scratch your bike whatsoever. Then again, if you already have a bike stand, chances are you already know how to change a tube. For those without a bike stand, you can flip you bike upside down like in the image and keep it there for the repair.
Step 2: Remove the wheel with the flat.
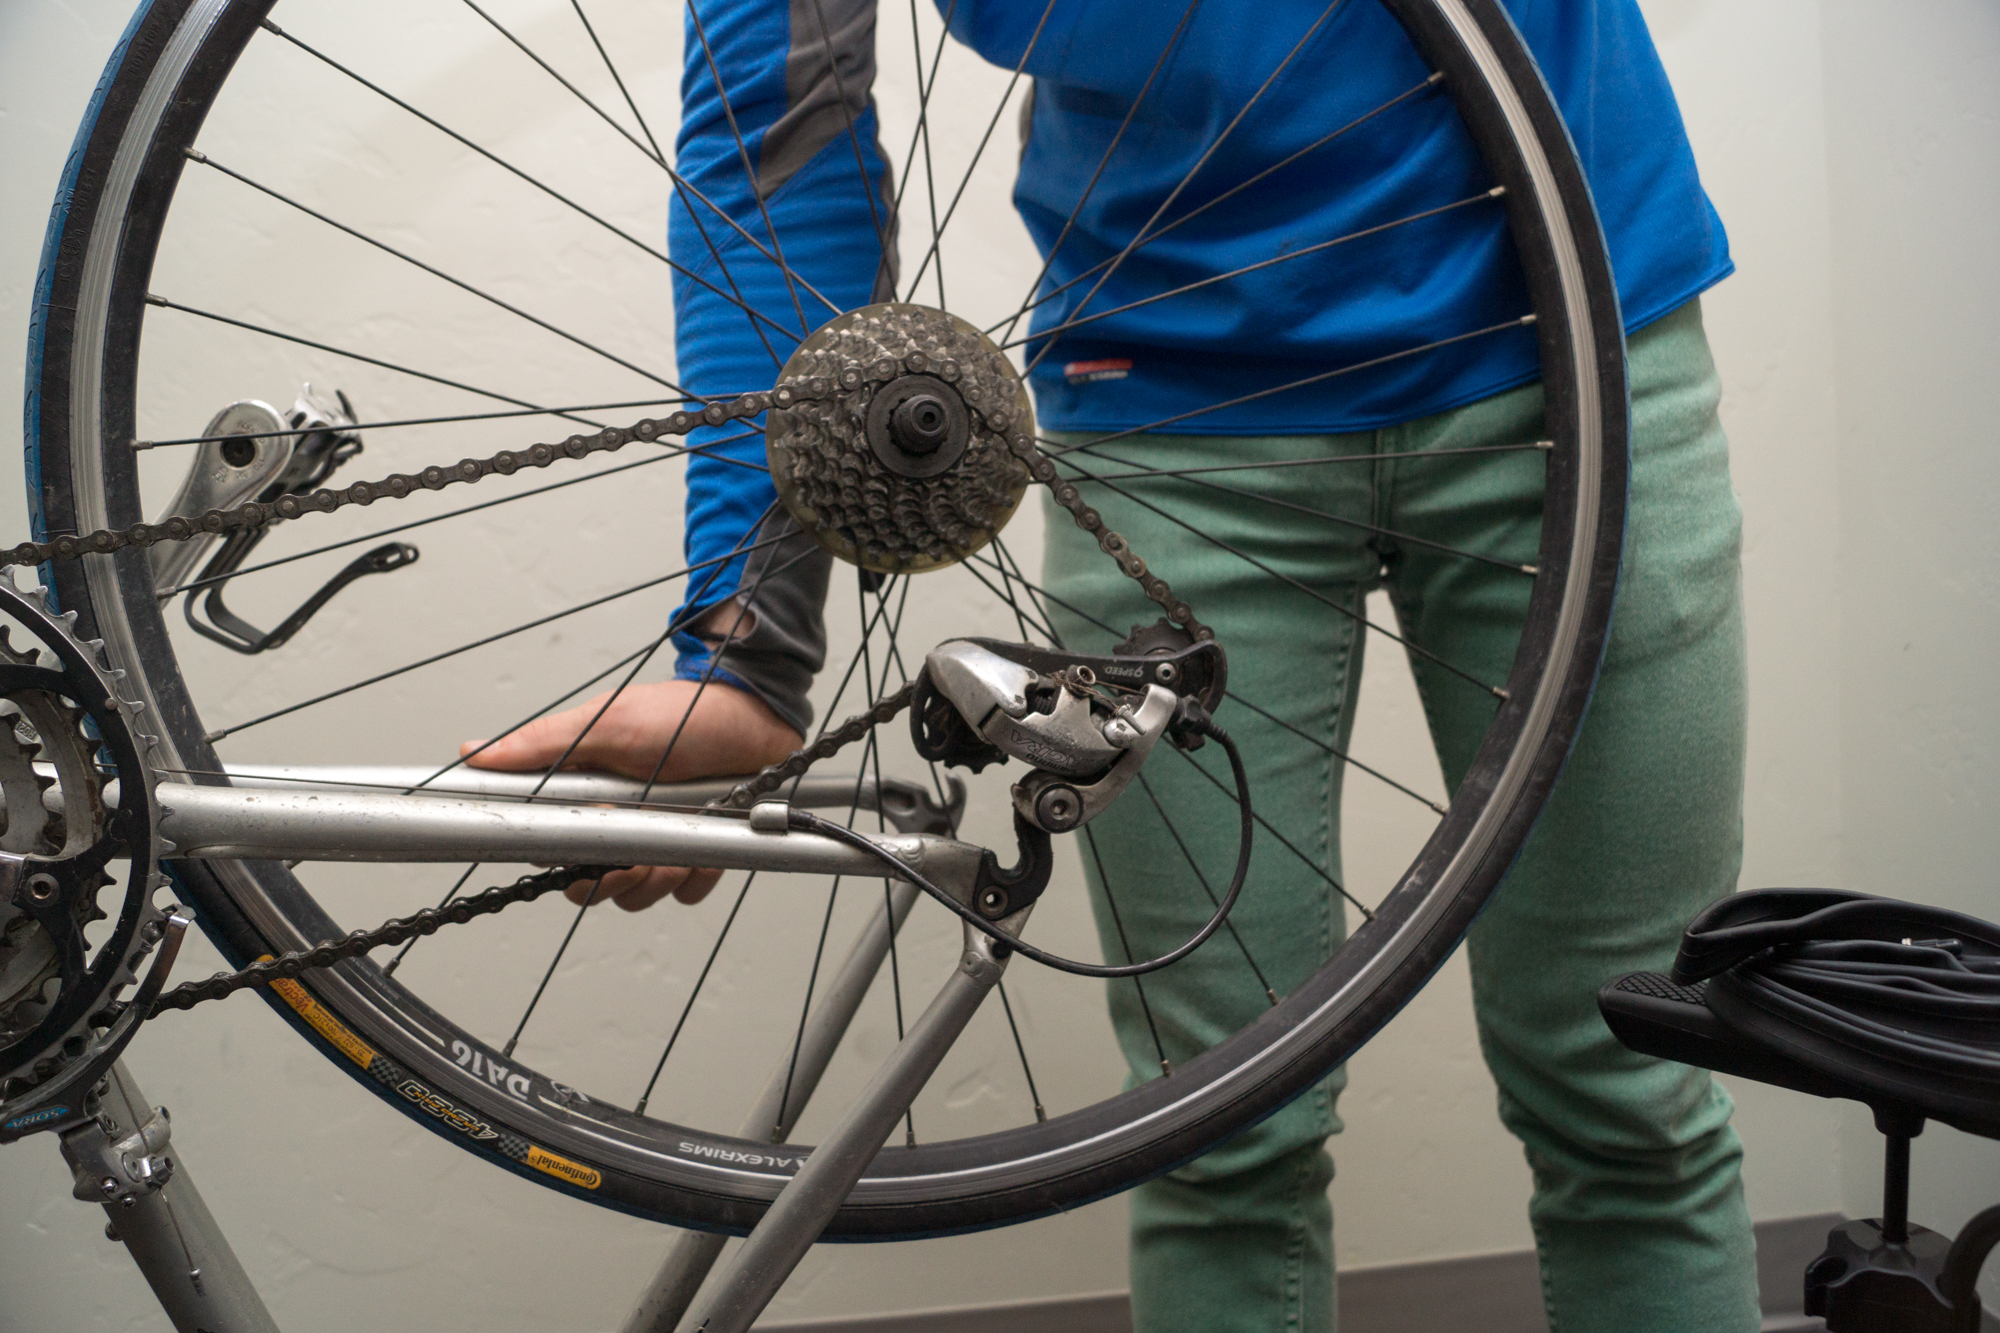
For most bikes, unlatch the brake by bringing the pads together and sliding the cable out. For road bikes, flip the knob up into the open position. Then open up the quick release lever on your bike’s wheel (it should be on the left side) and unscrew it a little bit and it should come out easily. For rear wheels, I use a tire lever to separate the chain from the cassette (so you don’t get your hands as dirty.)
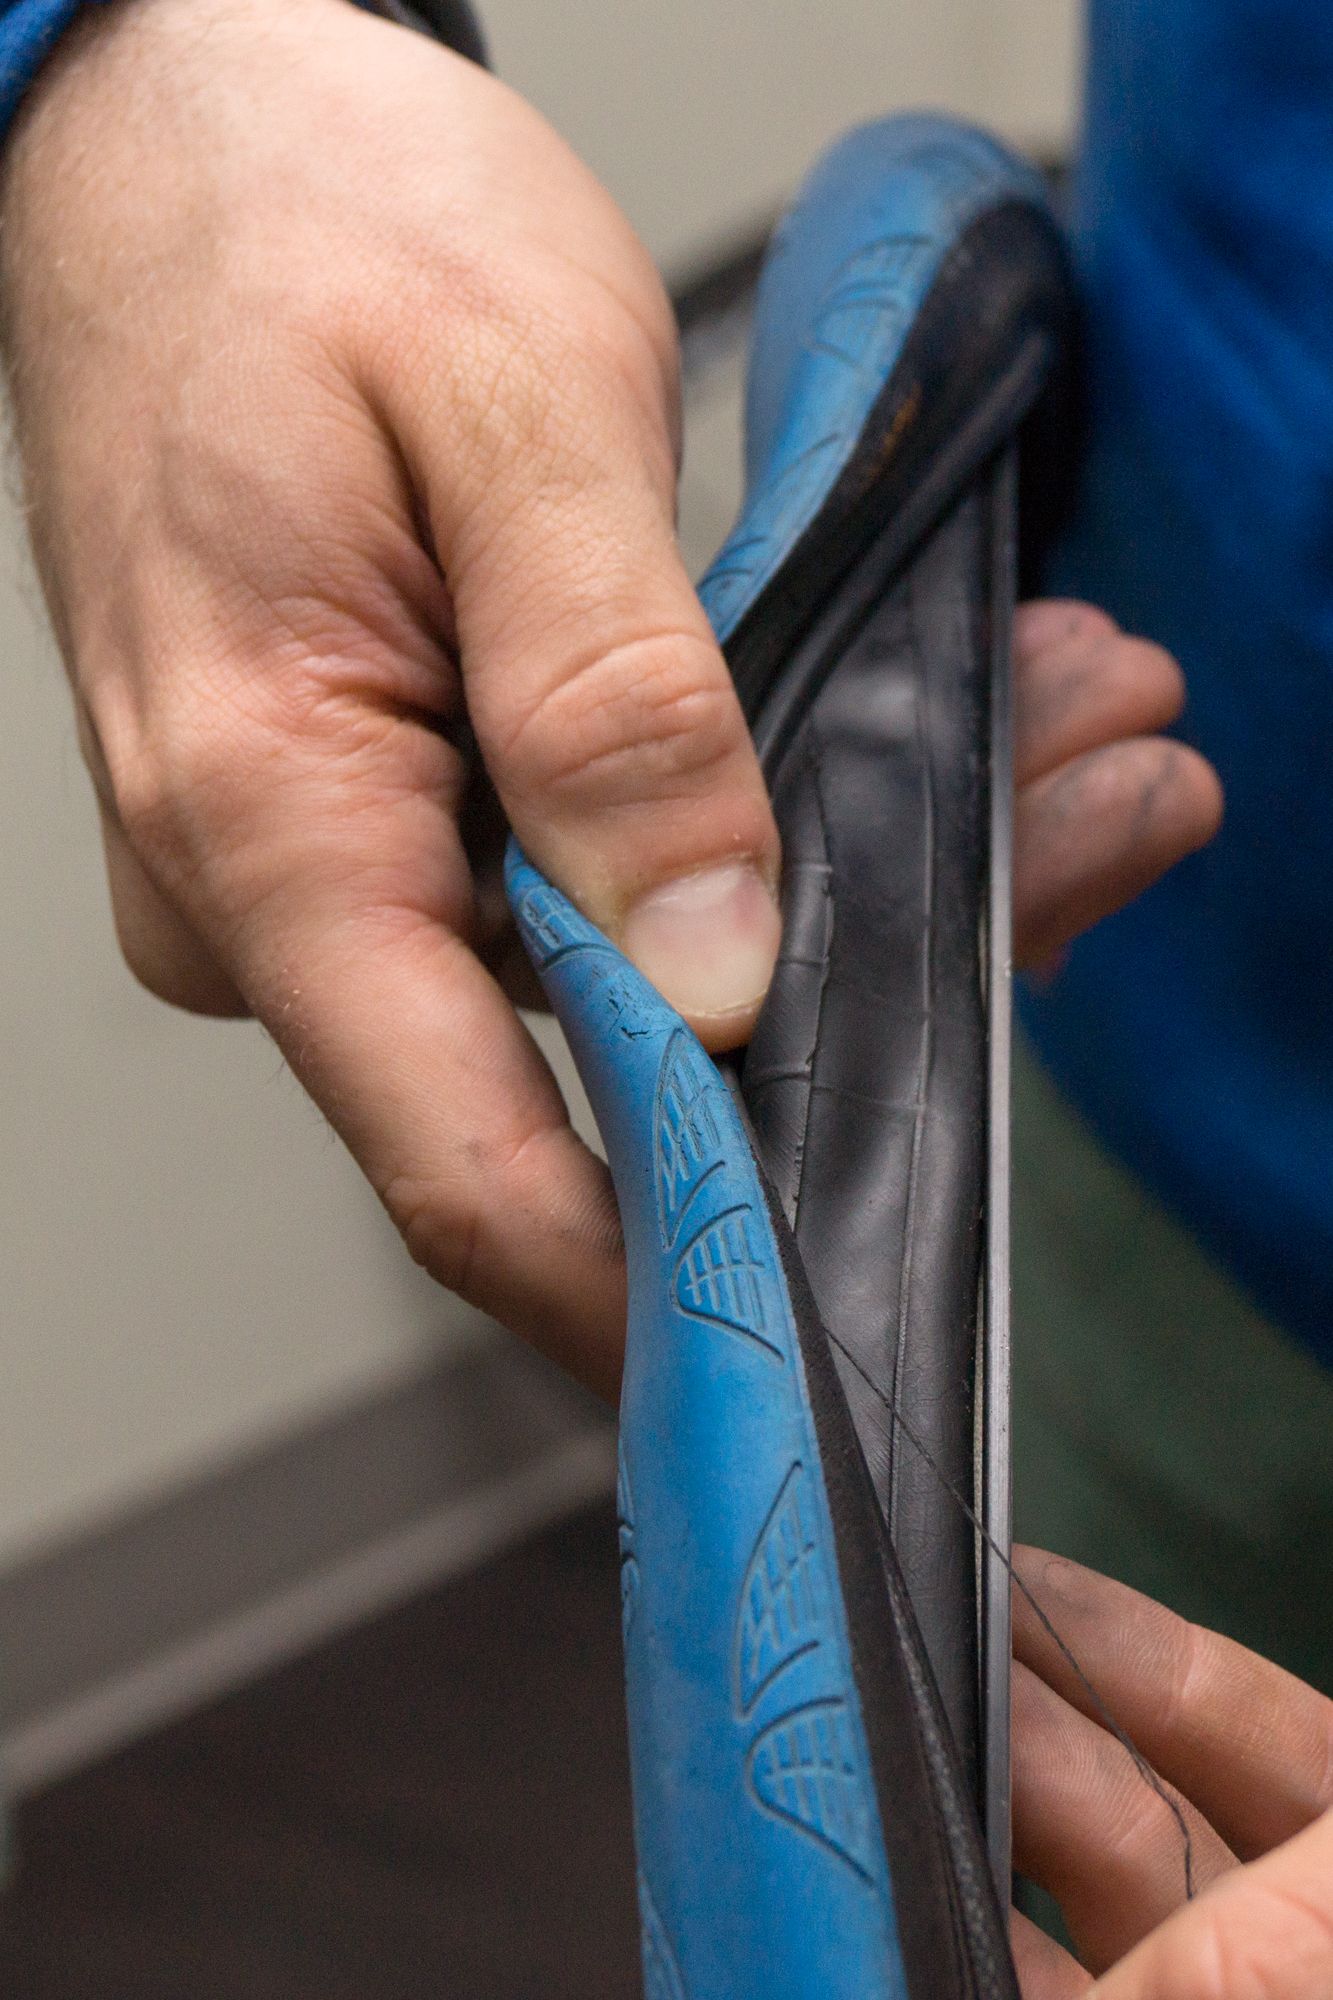
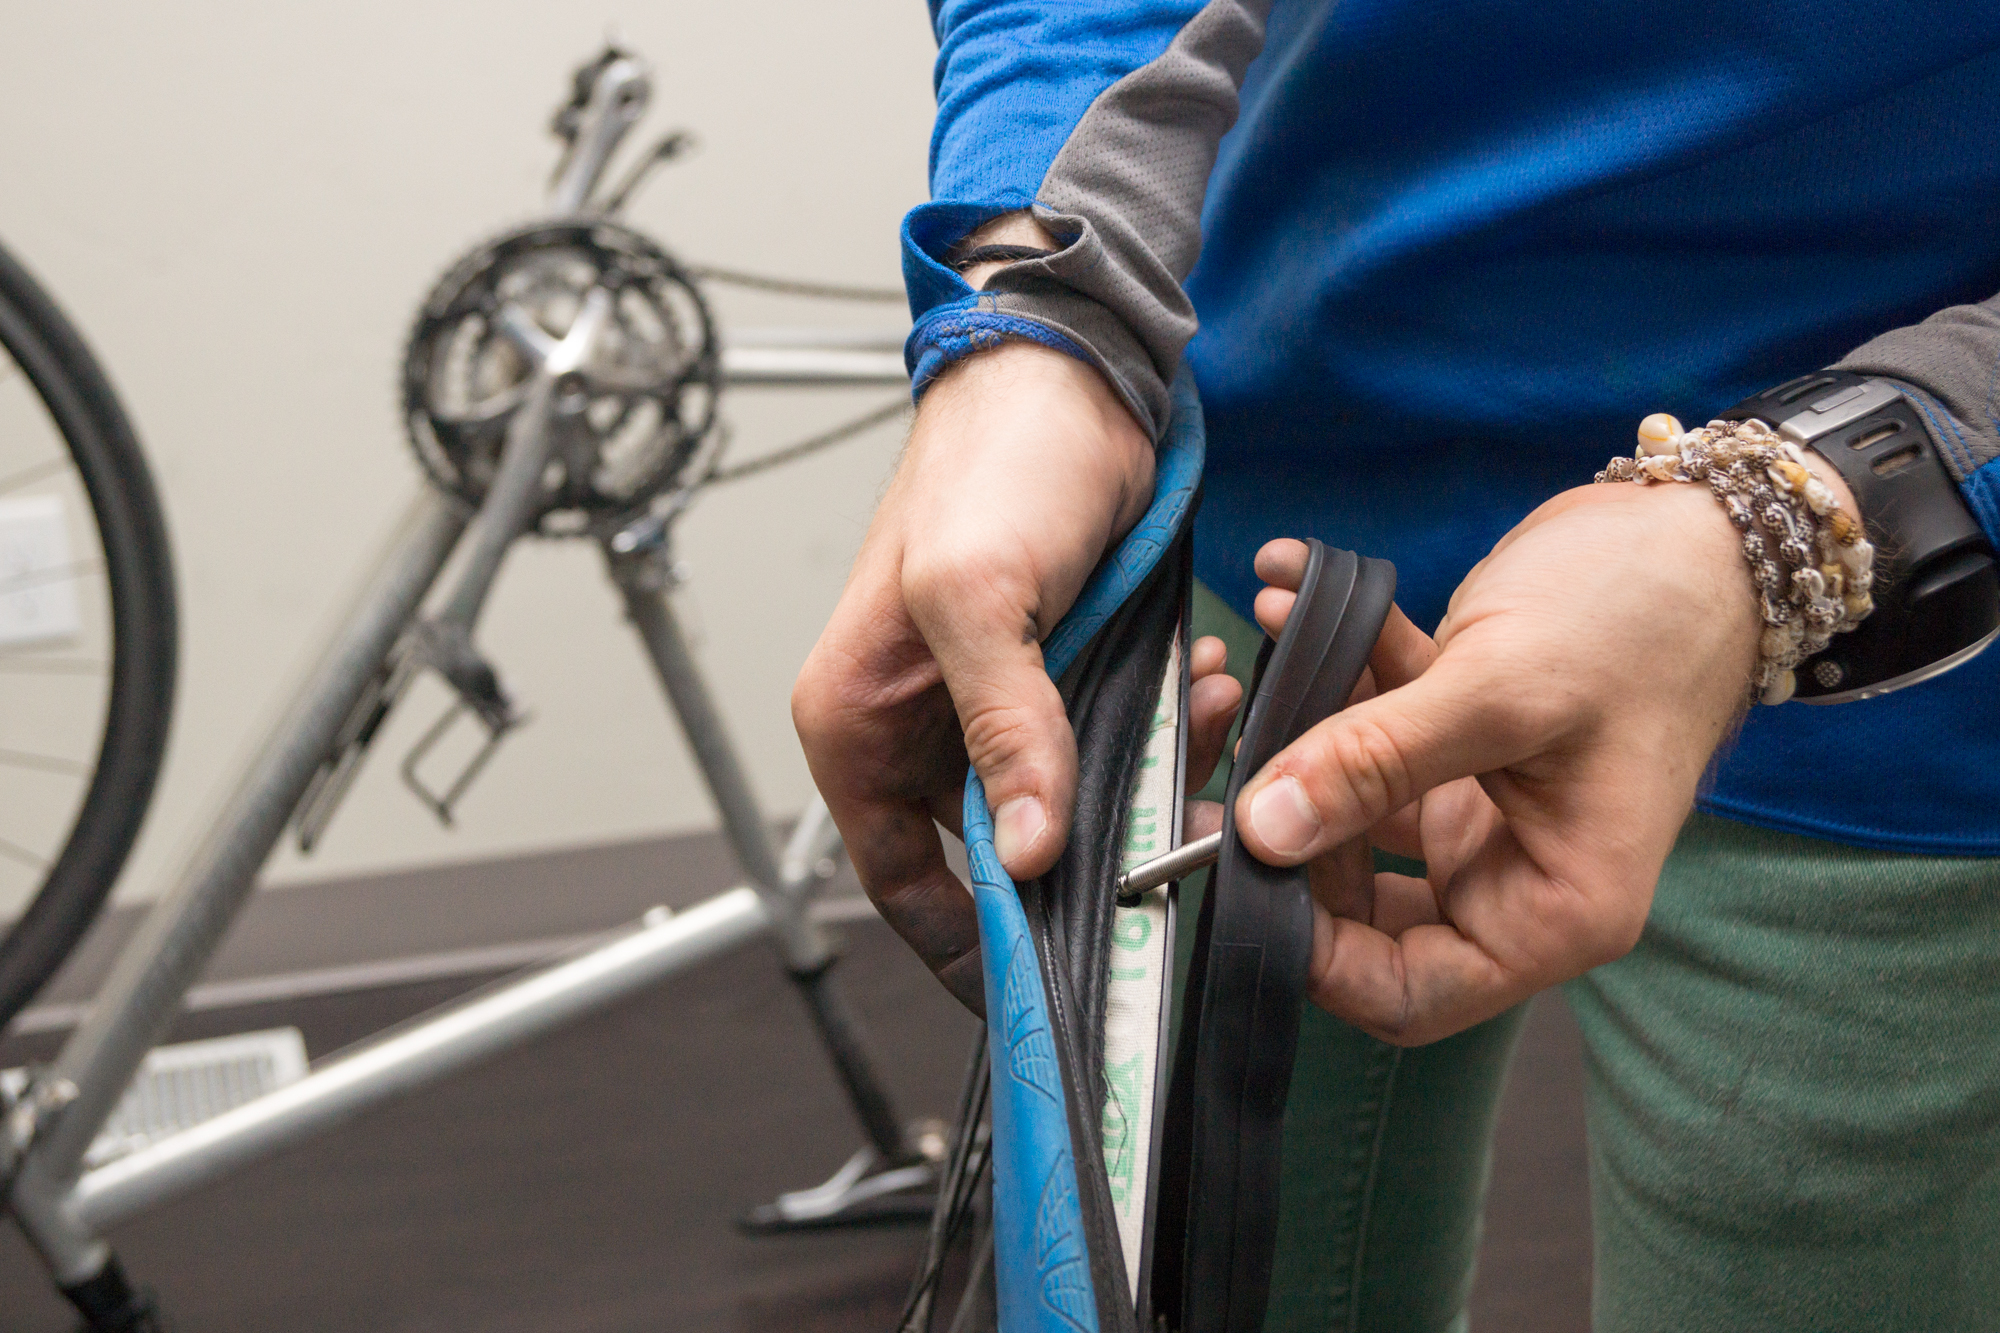
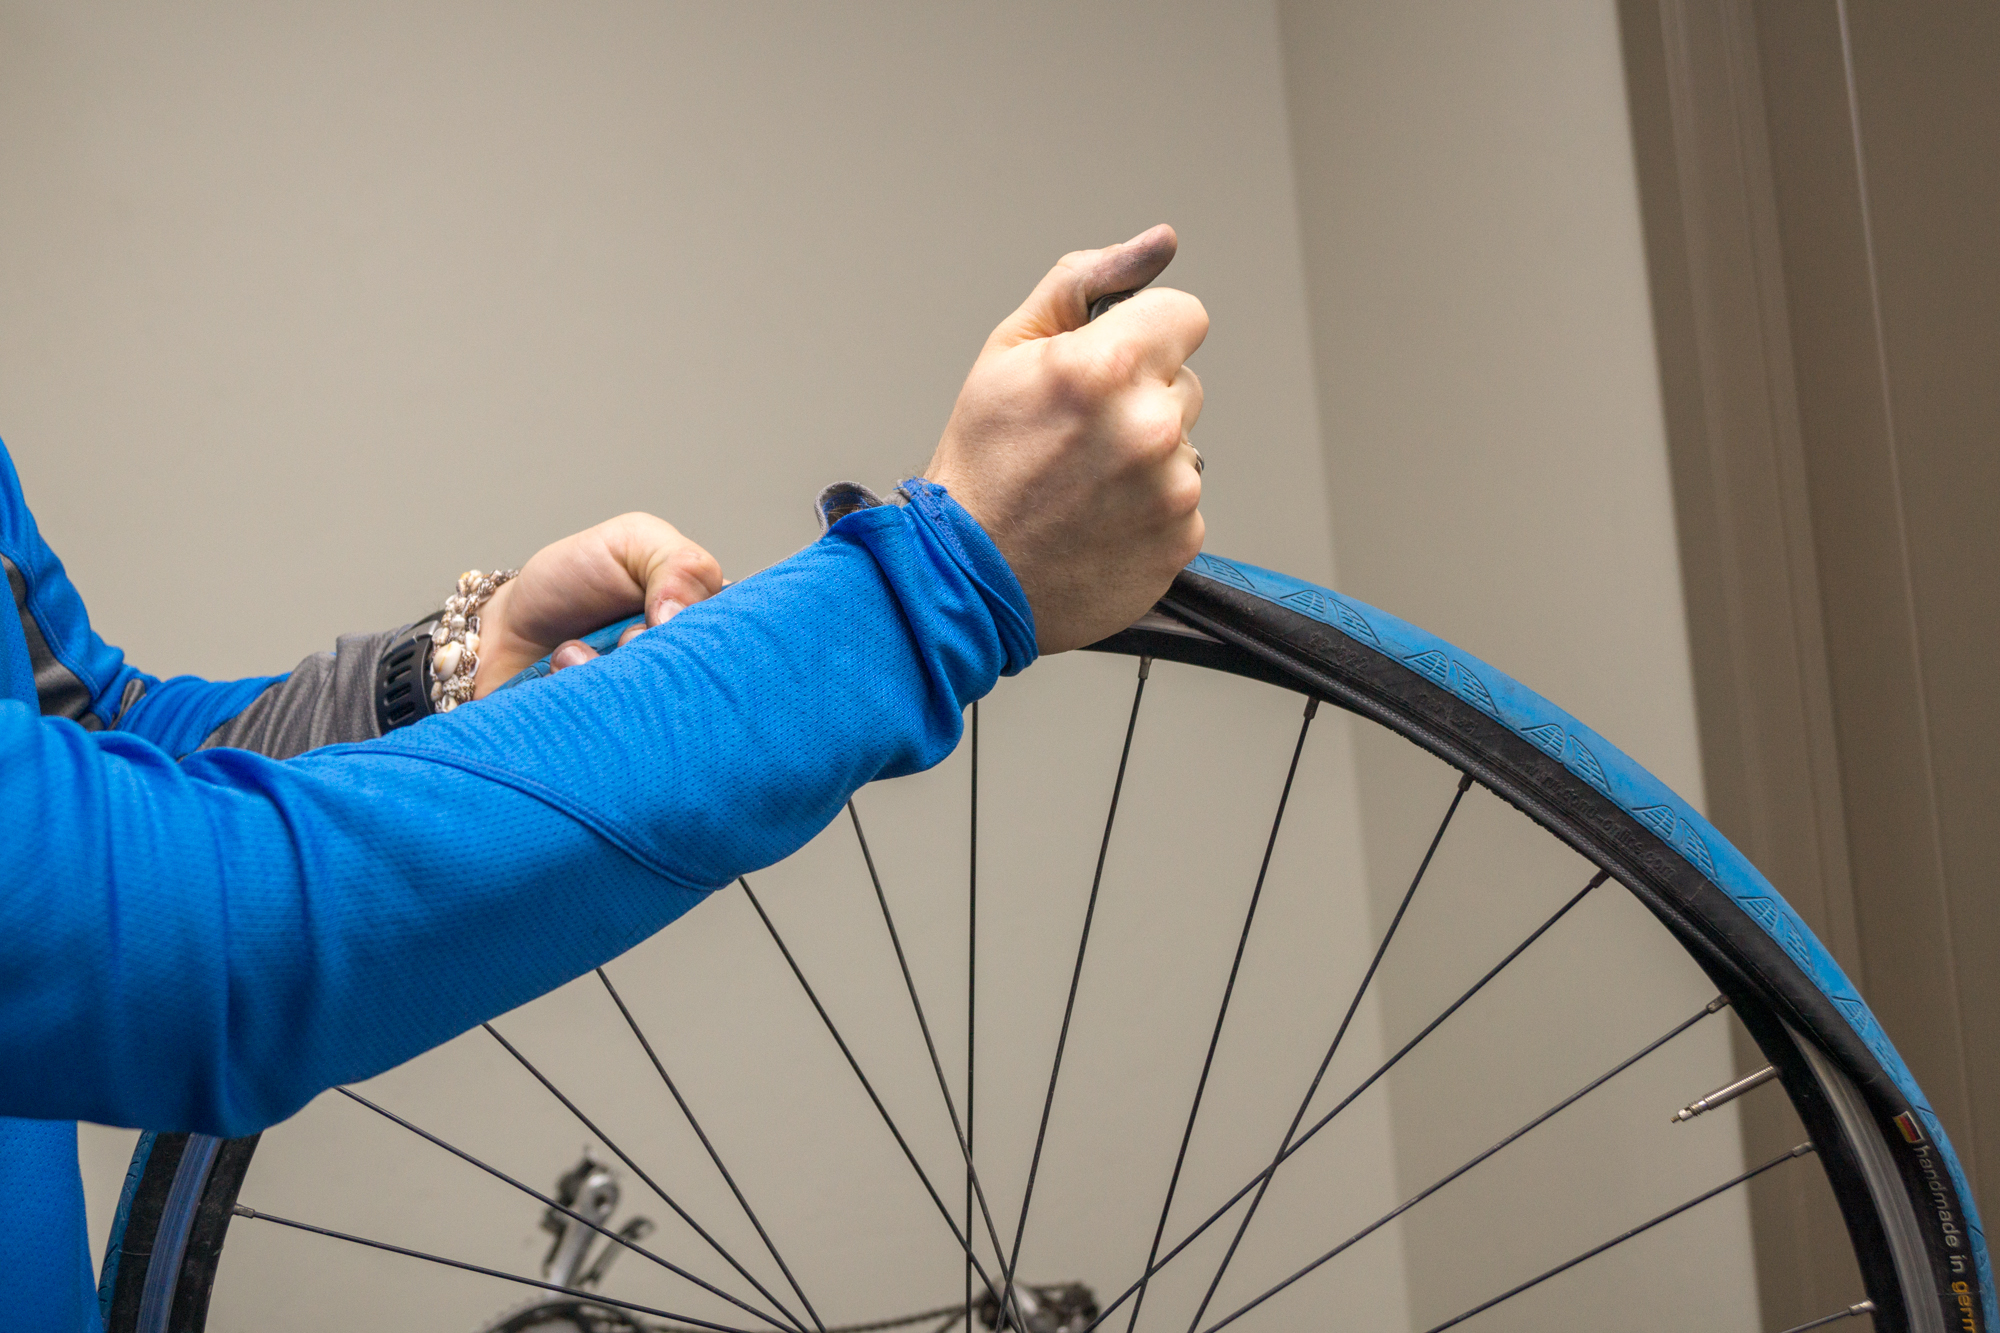
Step 3: Open the tire
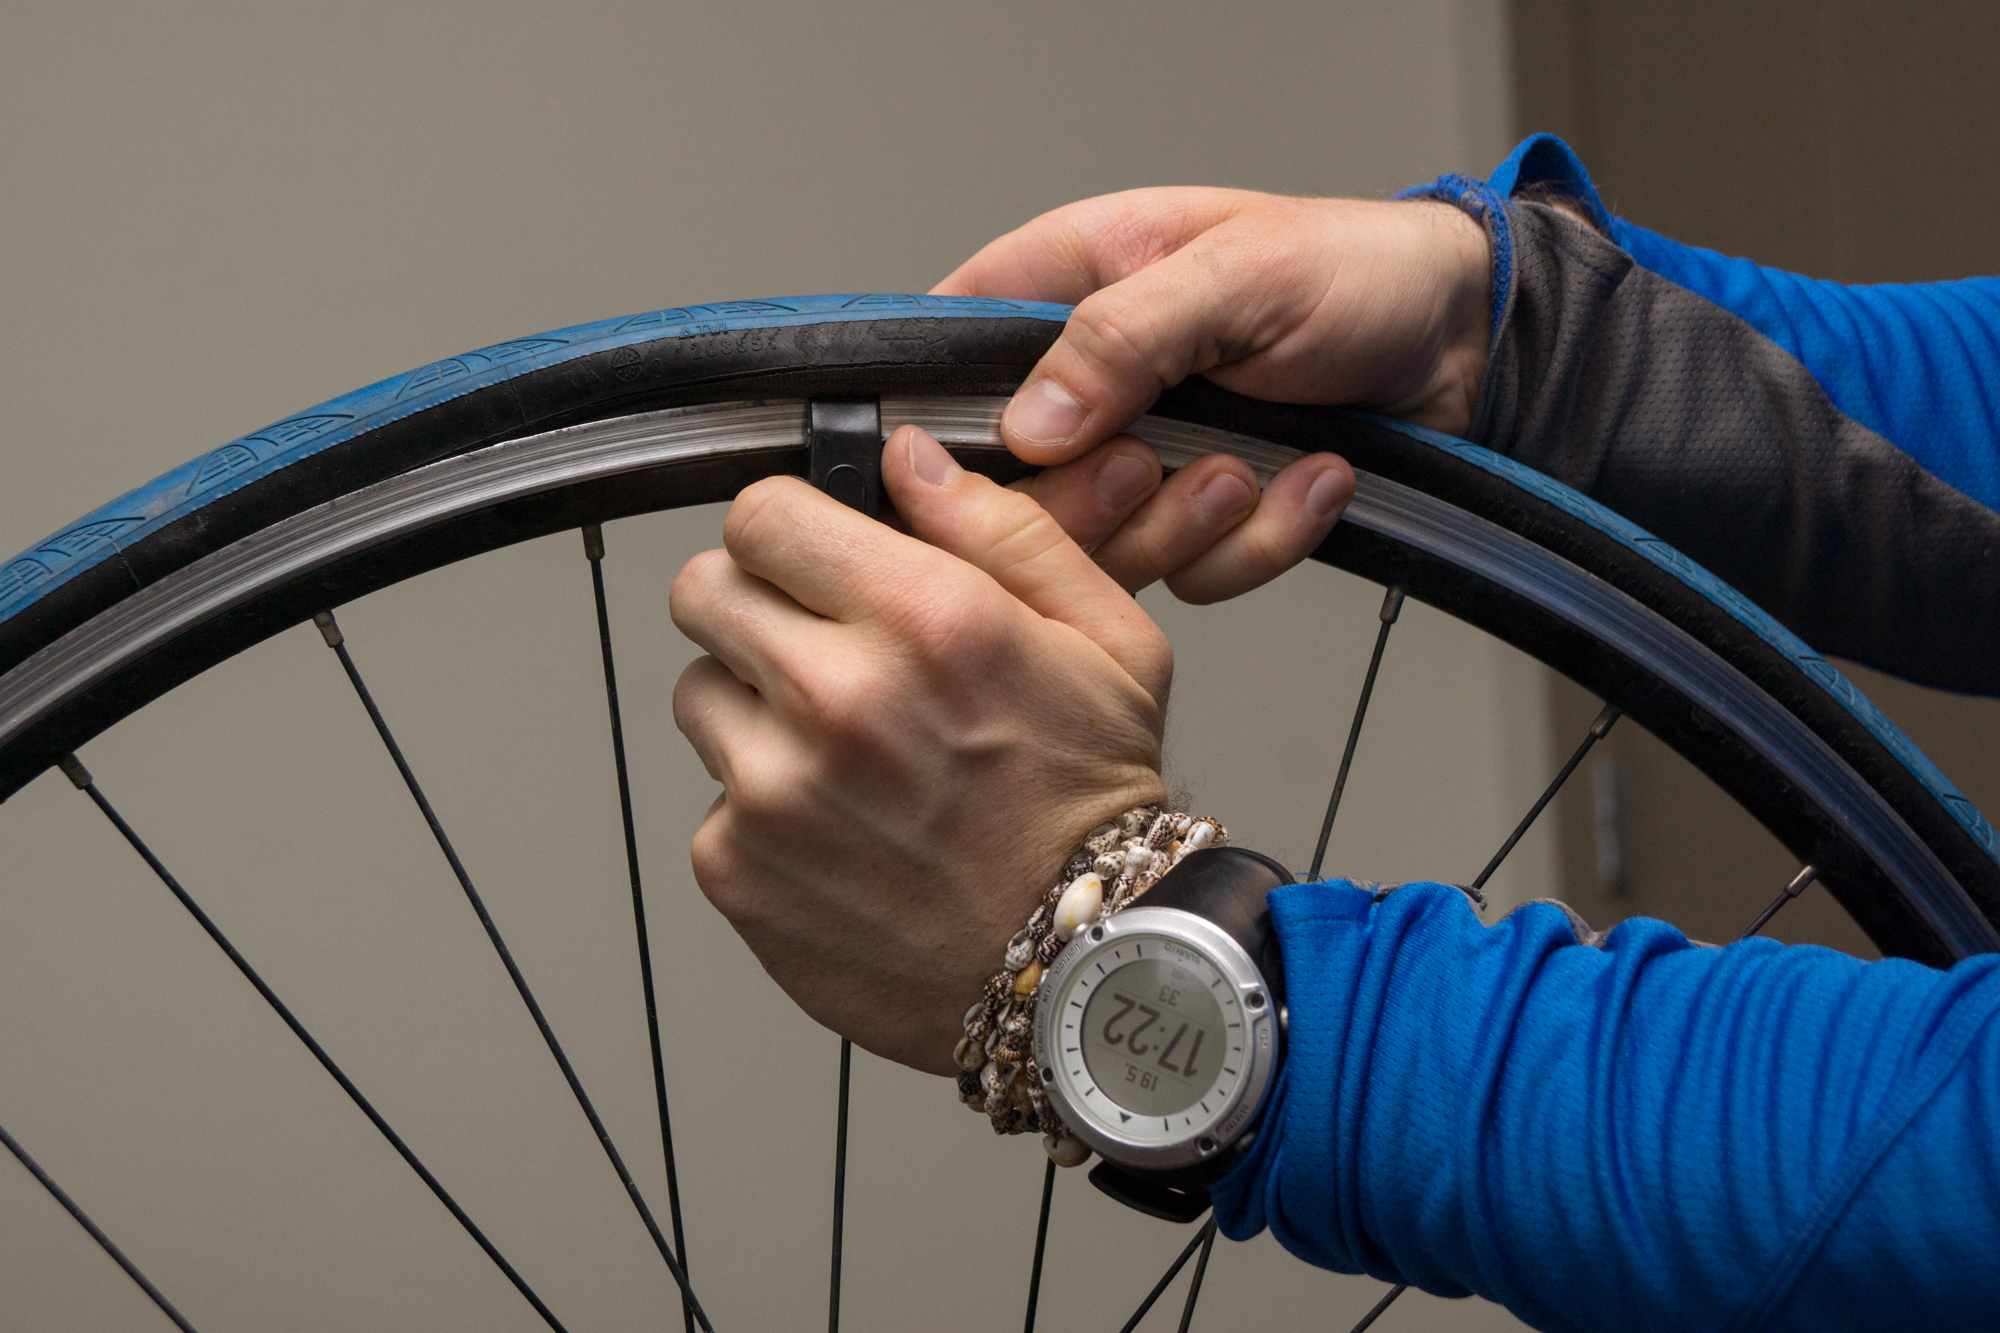

Use the non-hooked end of the tire lever and insert it with the point of the curve going towards the other side. Get the lever deep into the wheel and pull the top end away from the tire until it is facing downward. This should bring out a small portion of the tire’s beading and simply guide the lever along the rim until you go full-circle. Some tires have a more stiff beading, so you may need to use two tire levers. If you need to use two levers, keep one in the position of the beading out and use the hook side to hook unto a spoke while you use the other lever to pop out another nearby portion of the tire.
Step 4: Remove the old tube

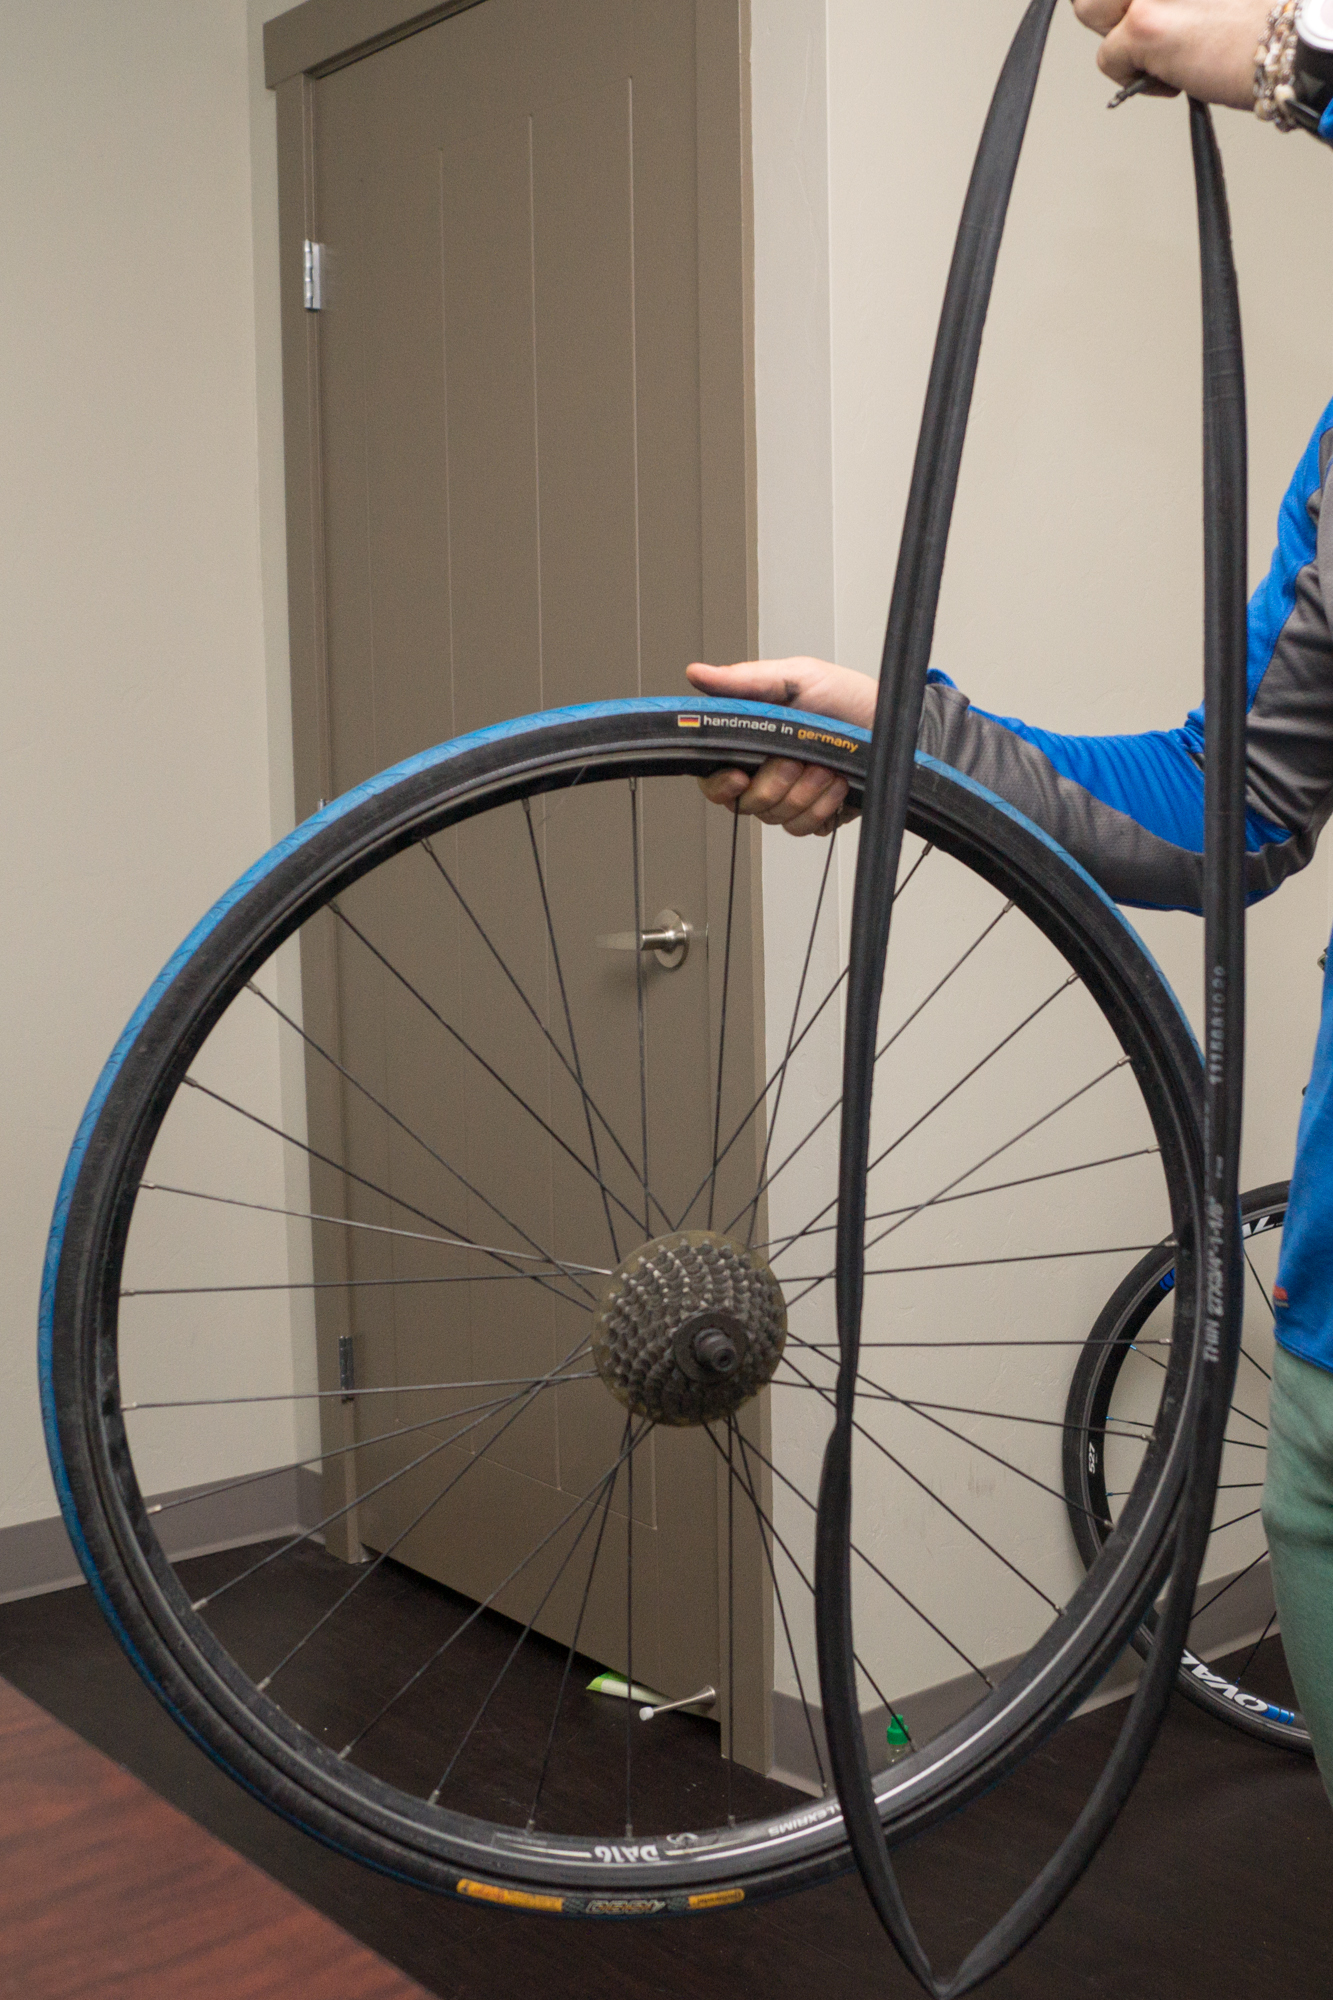
Find the tire stem and make sure that it is free of nuts and caps. Reveal the part of the tire where the stem is and pull out the stem. You should see the rim tape and a hole where the stem was. Next, proceed to pull out the rest of the tube.
Step 5: Inspection
Obviously, something caused your tire to go flat. It could have been a rock, thorn or a piece of glass that caused the pop, you may also have a bad tire (if you see a lot of cracks in the tire, you should get it replaced) or you have someone who really does not like you and popped your tube with a needle. Regardless or what it was that put you out of your ride, you should figure out if the perpetrator is still there. Run your hand across the tube and the insides of the wheel. Make sure that there are no pointy objects that will immediately pop you next tube. Once you clear everything, it is time to put in the new tube.
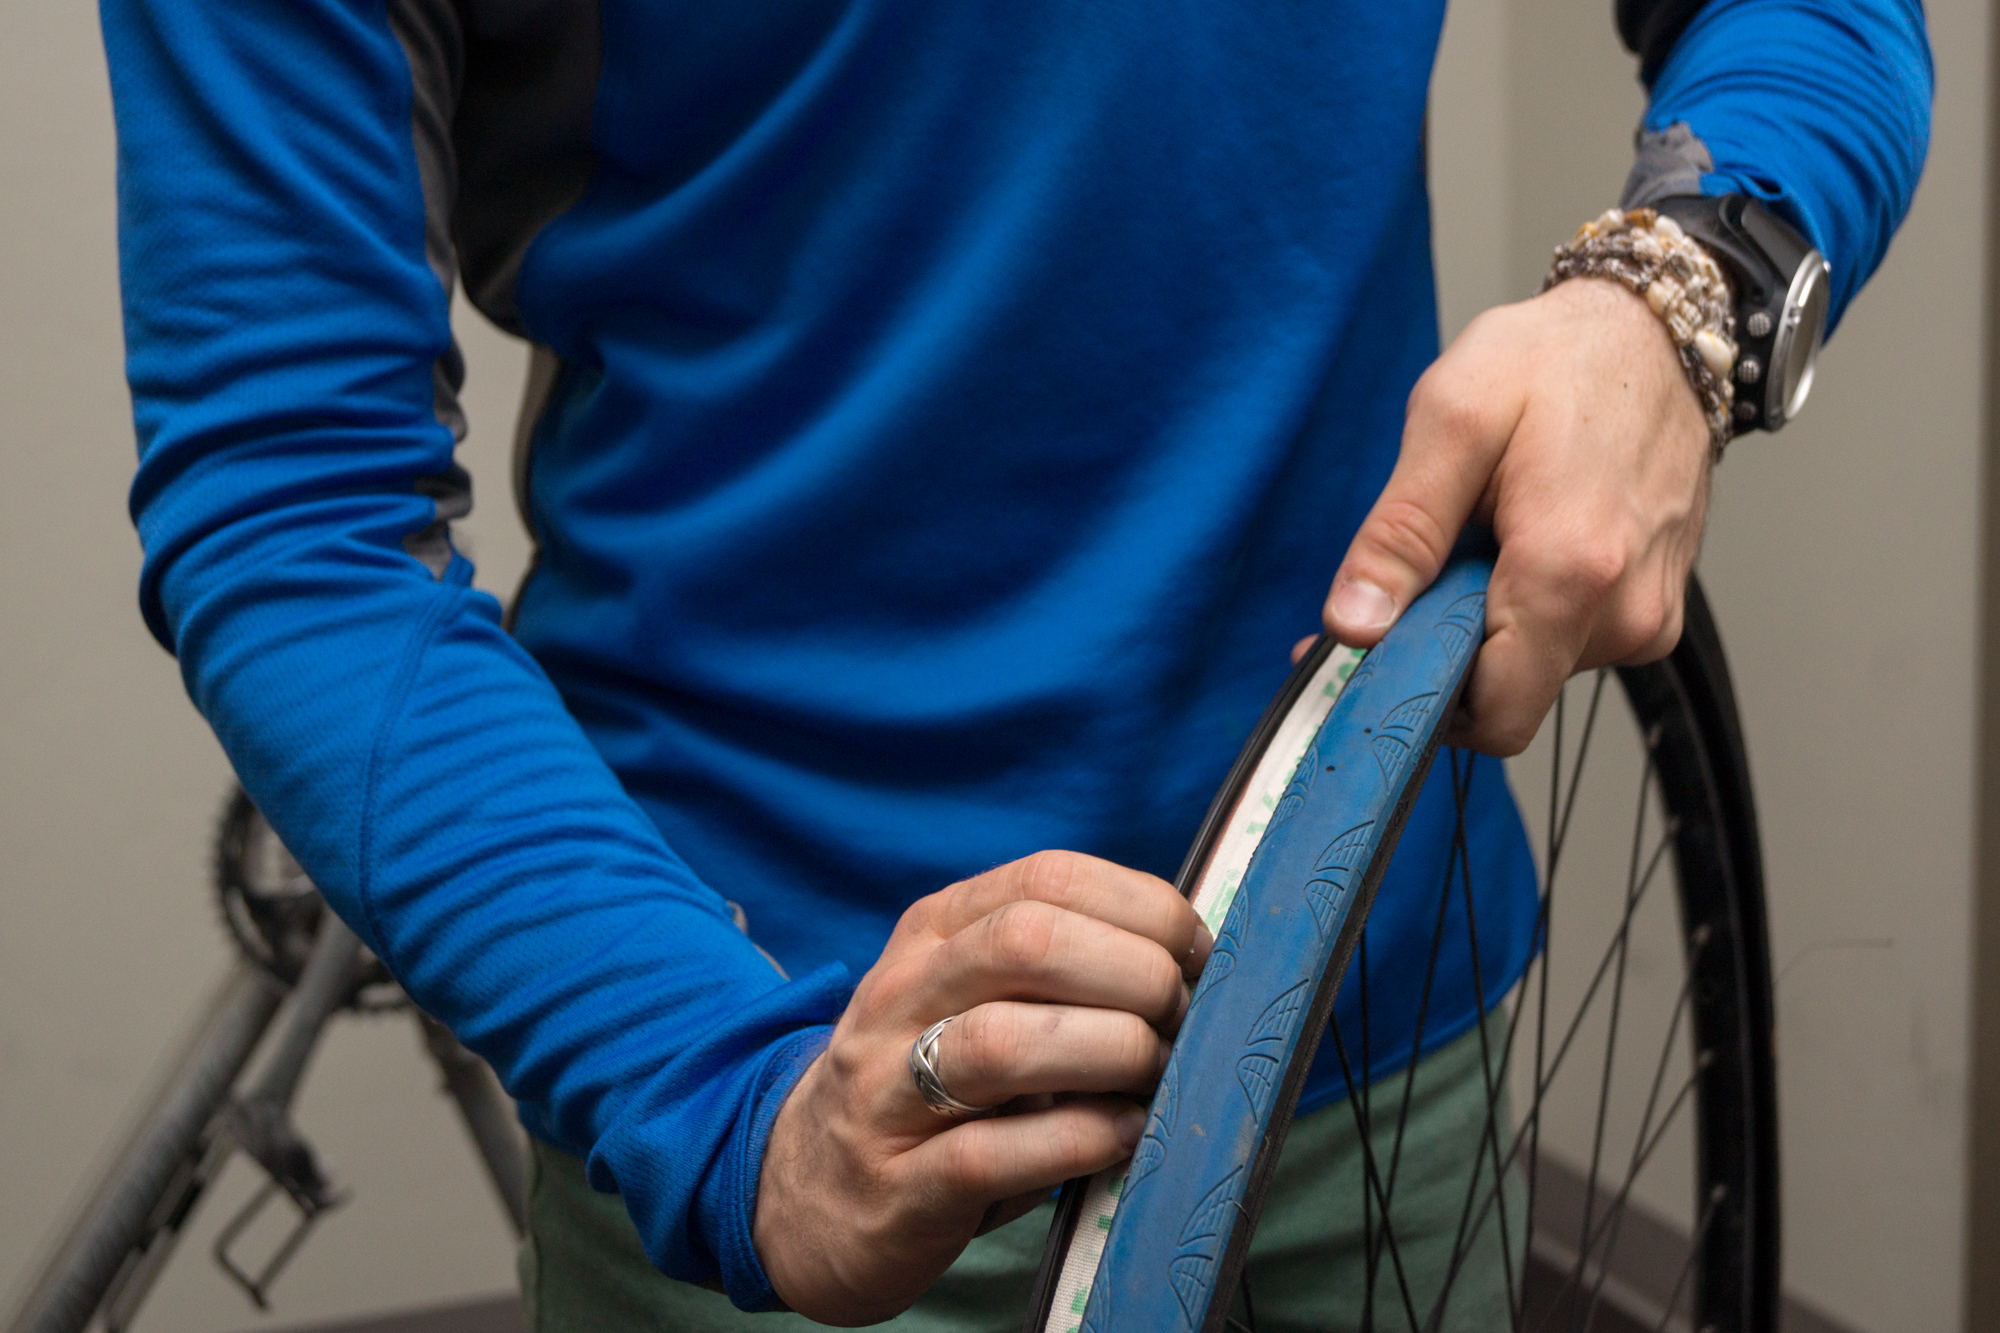
Step 6: Insert the new tube
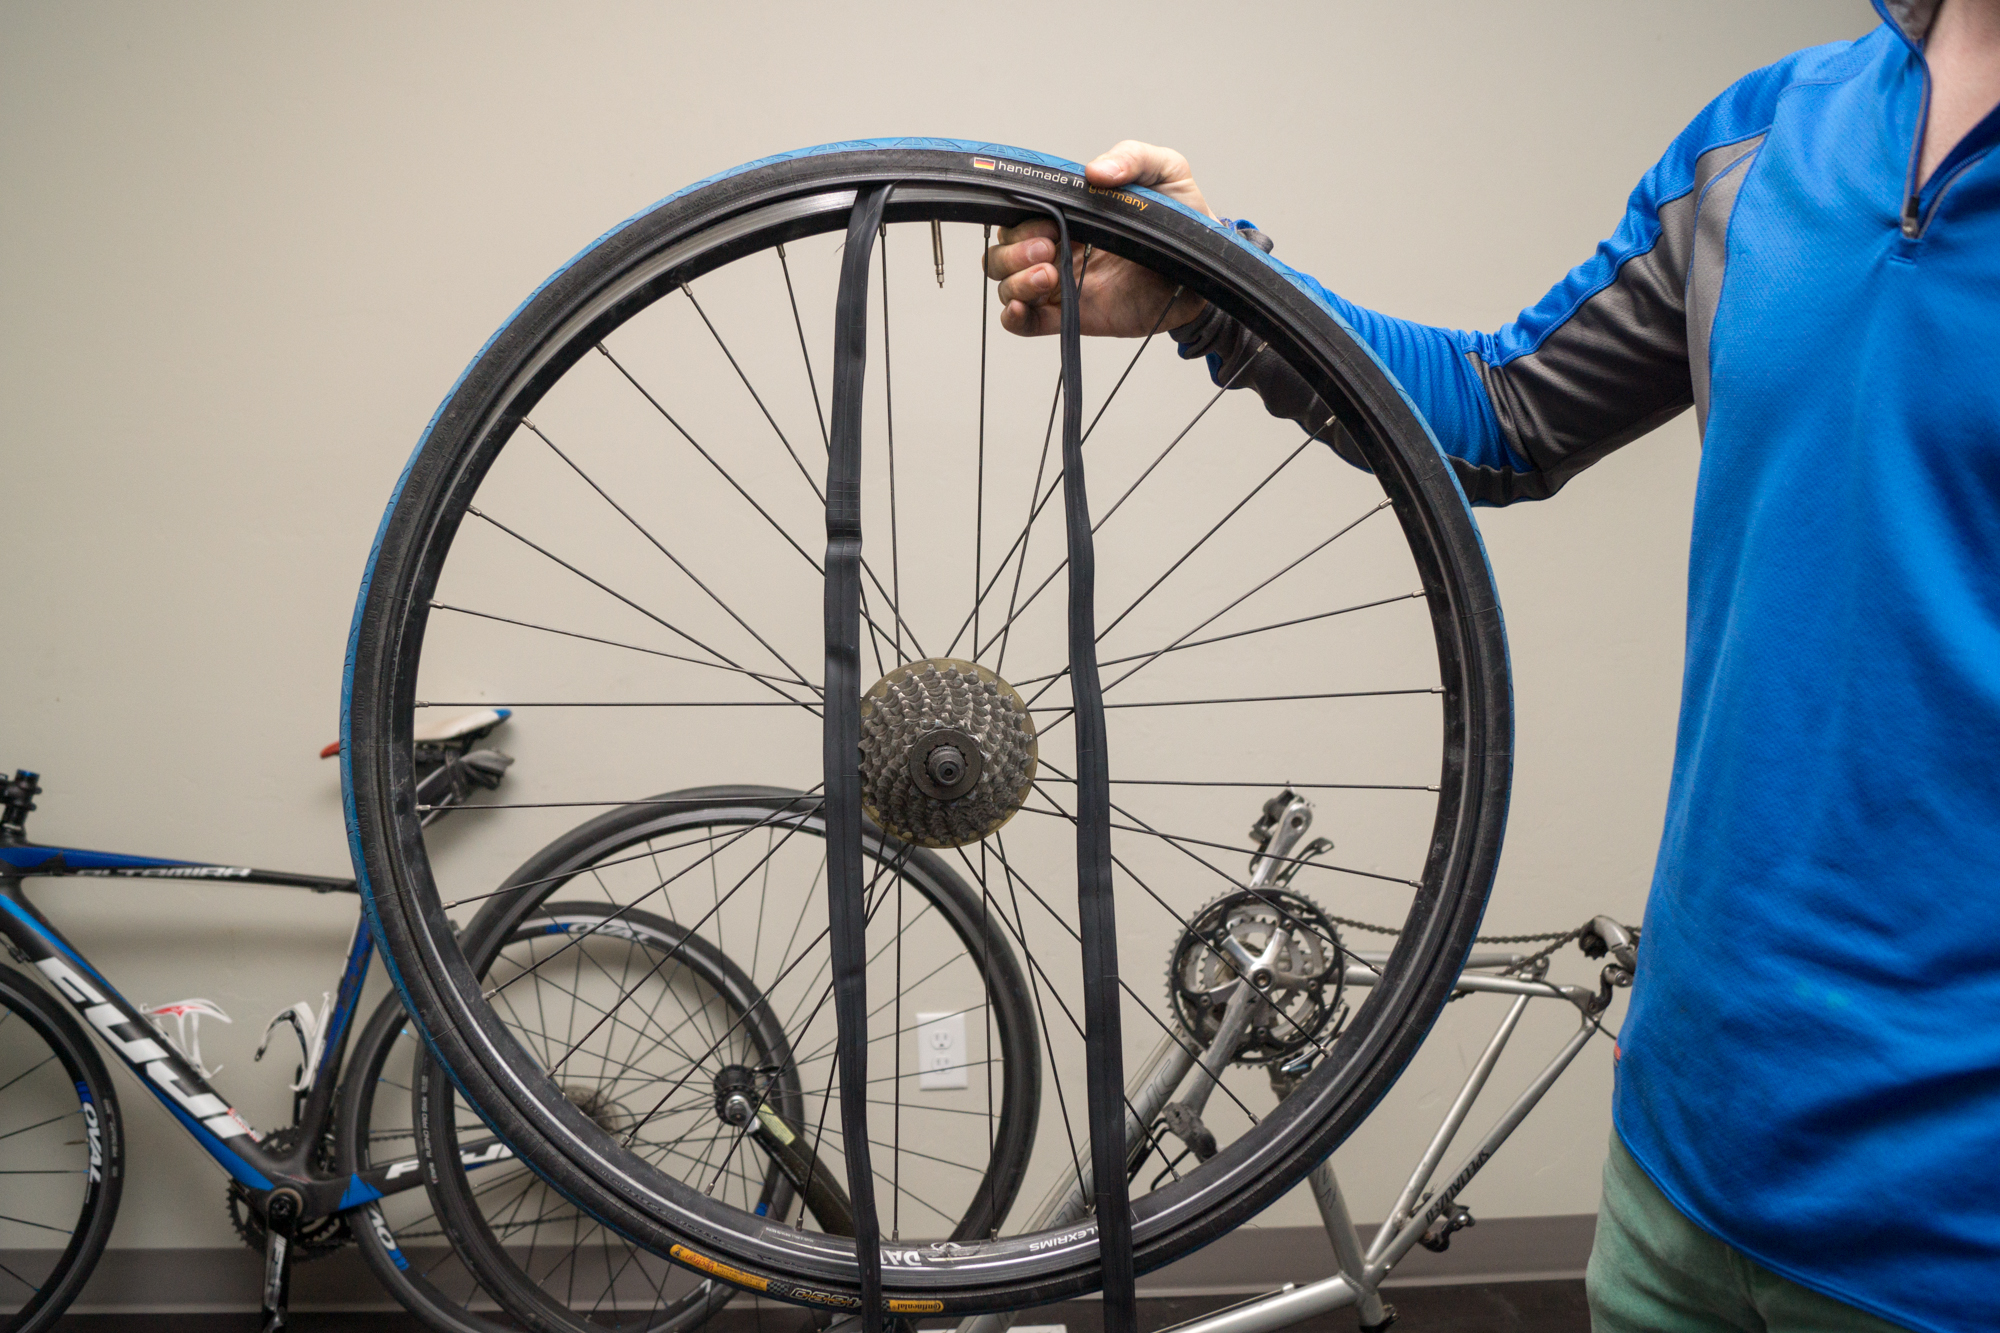
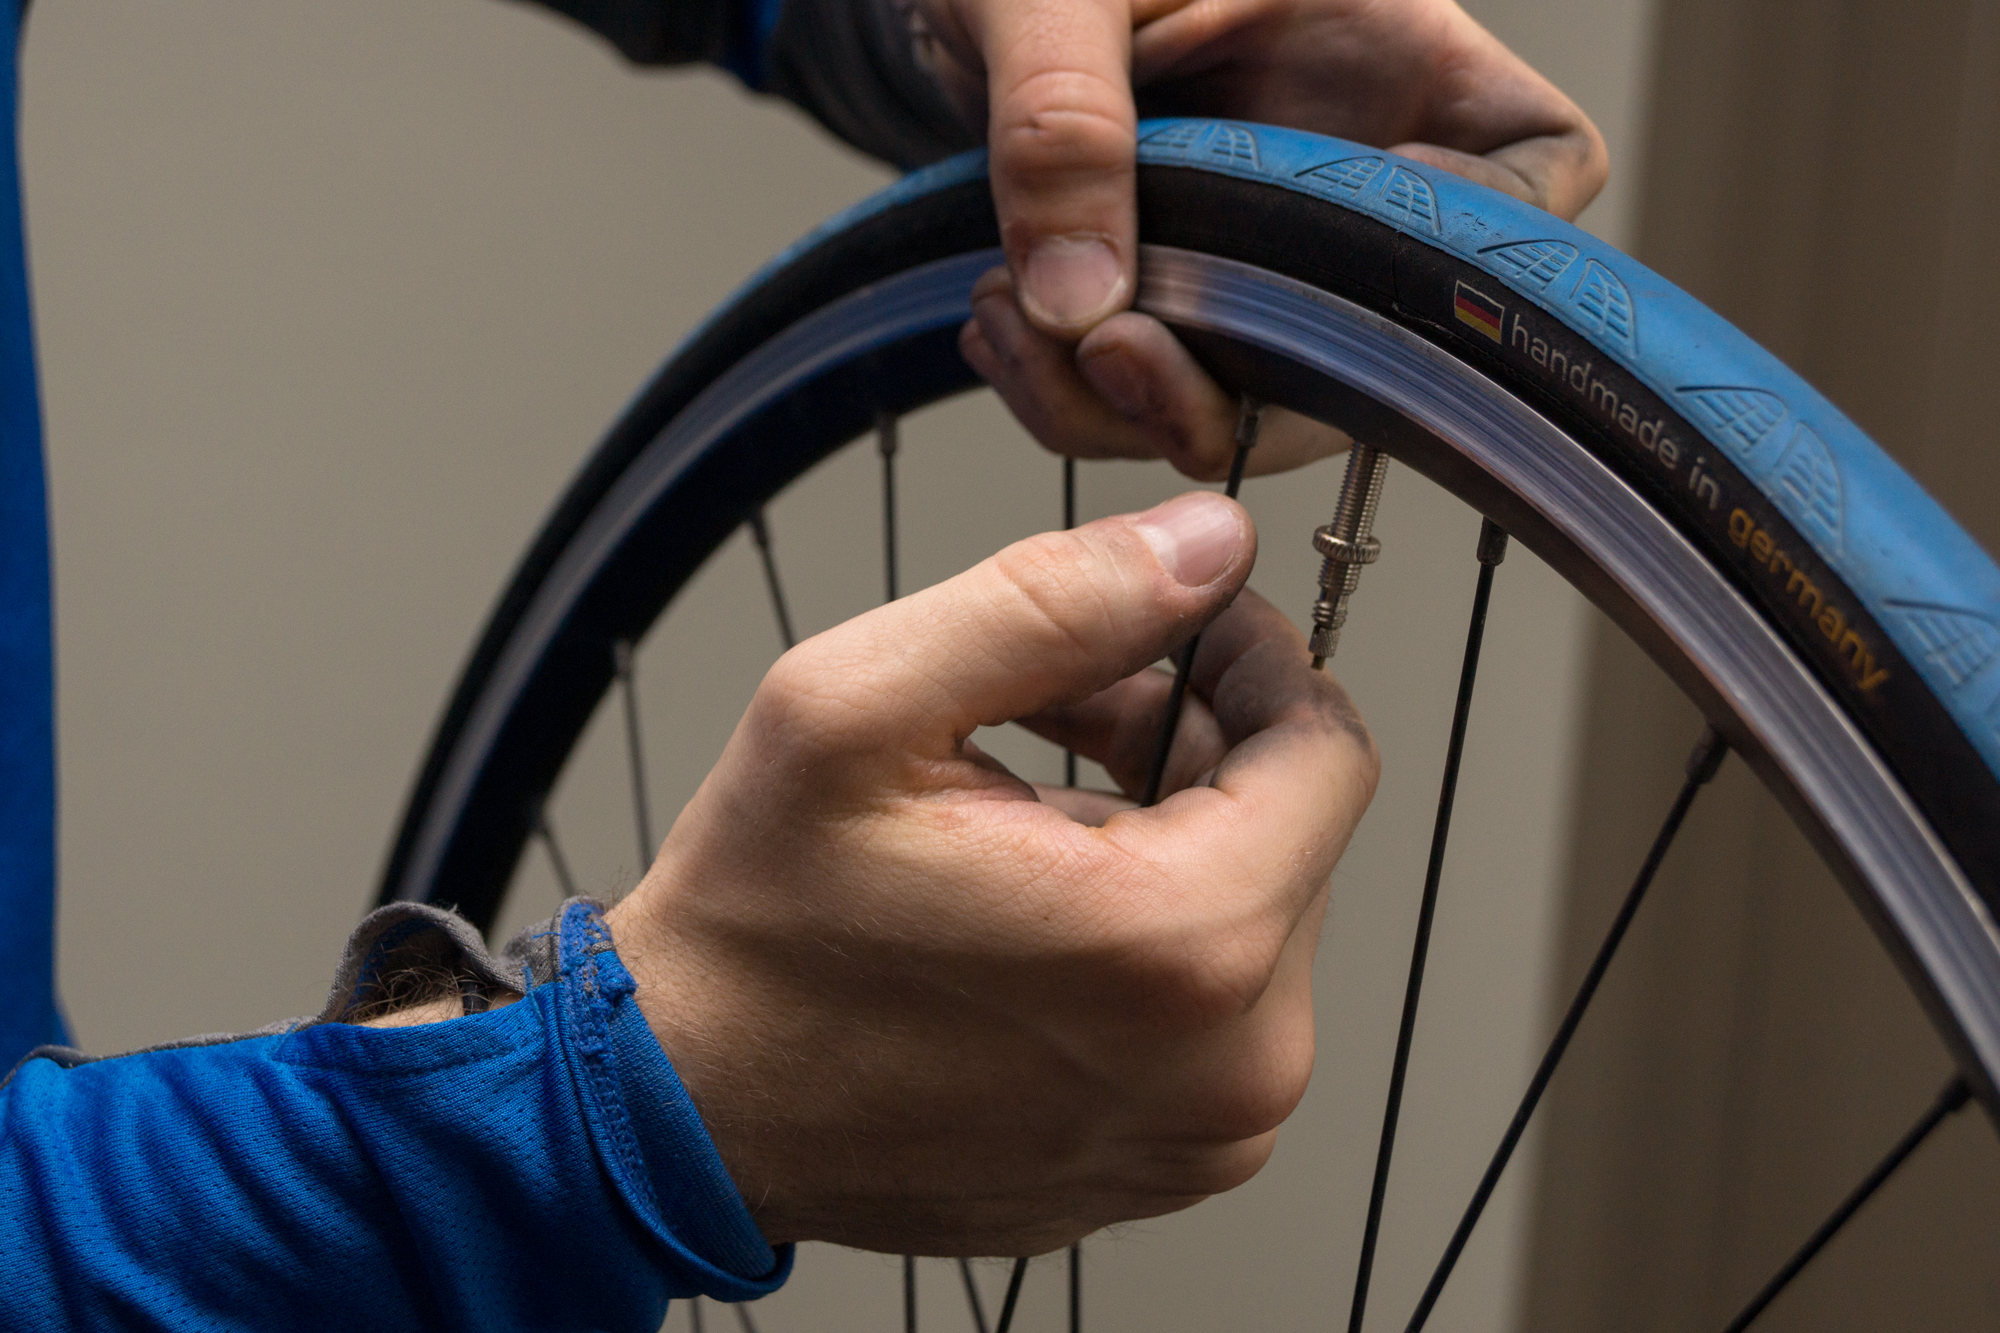
Make sure the new stem is free of nuts and caps, because you will not be able to fit the stem through the hole with those on. For the Presta valve stem, I put the nut back into place and make sure it is relatively tight. That way when you attach the pump, it will not hurt the new tube. Once the stem is in, gently put the rest of the tube in the wheel. Make sure there are no folds in the tube when placing it in, because a fold will pop under pressure, and then you have to do this all over again. Almost done!
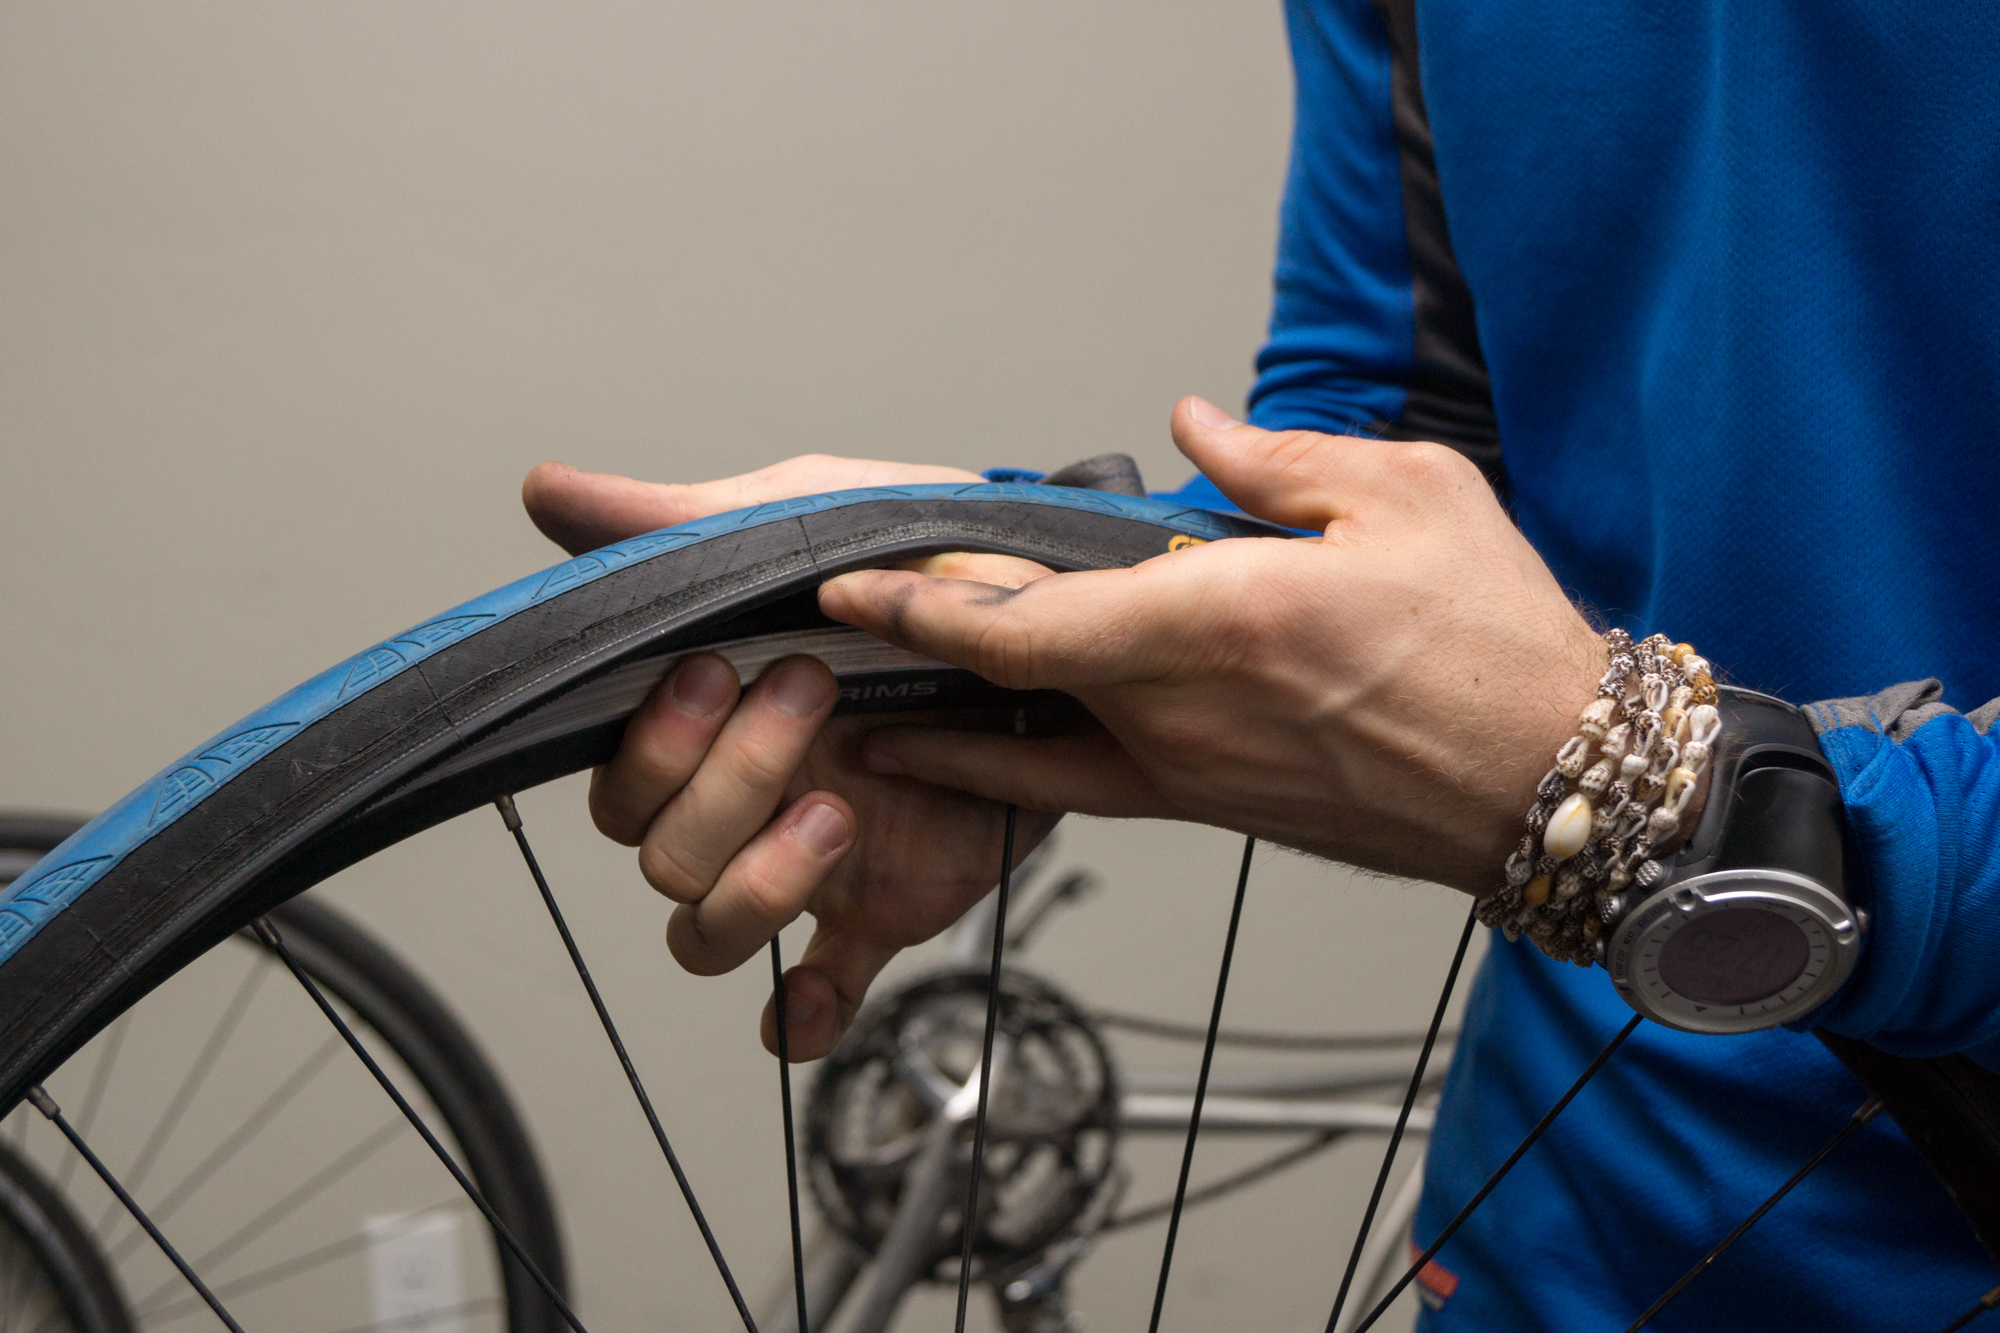
Step 7: Put the tire back in place
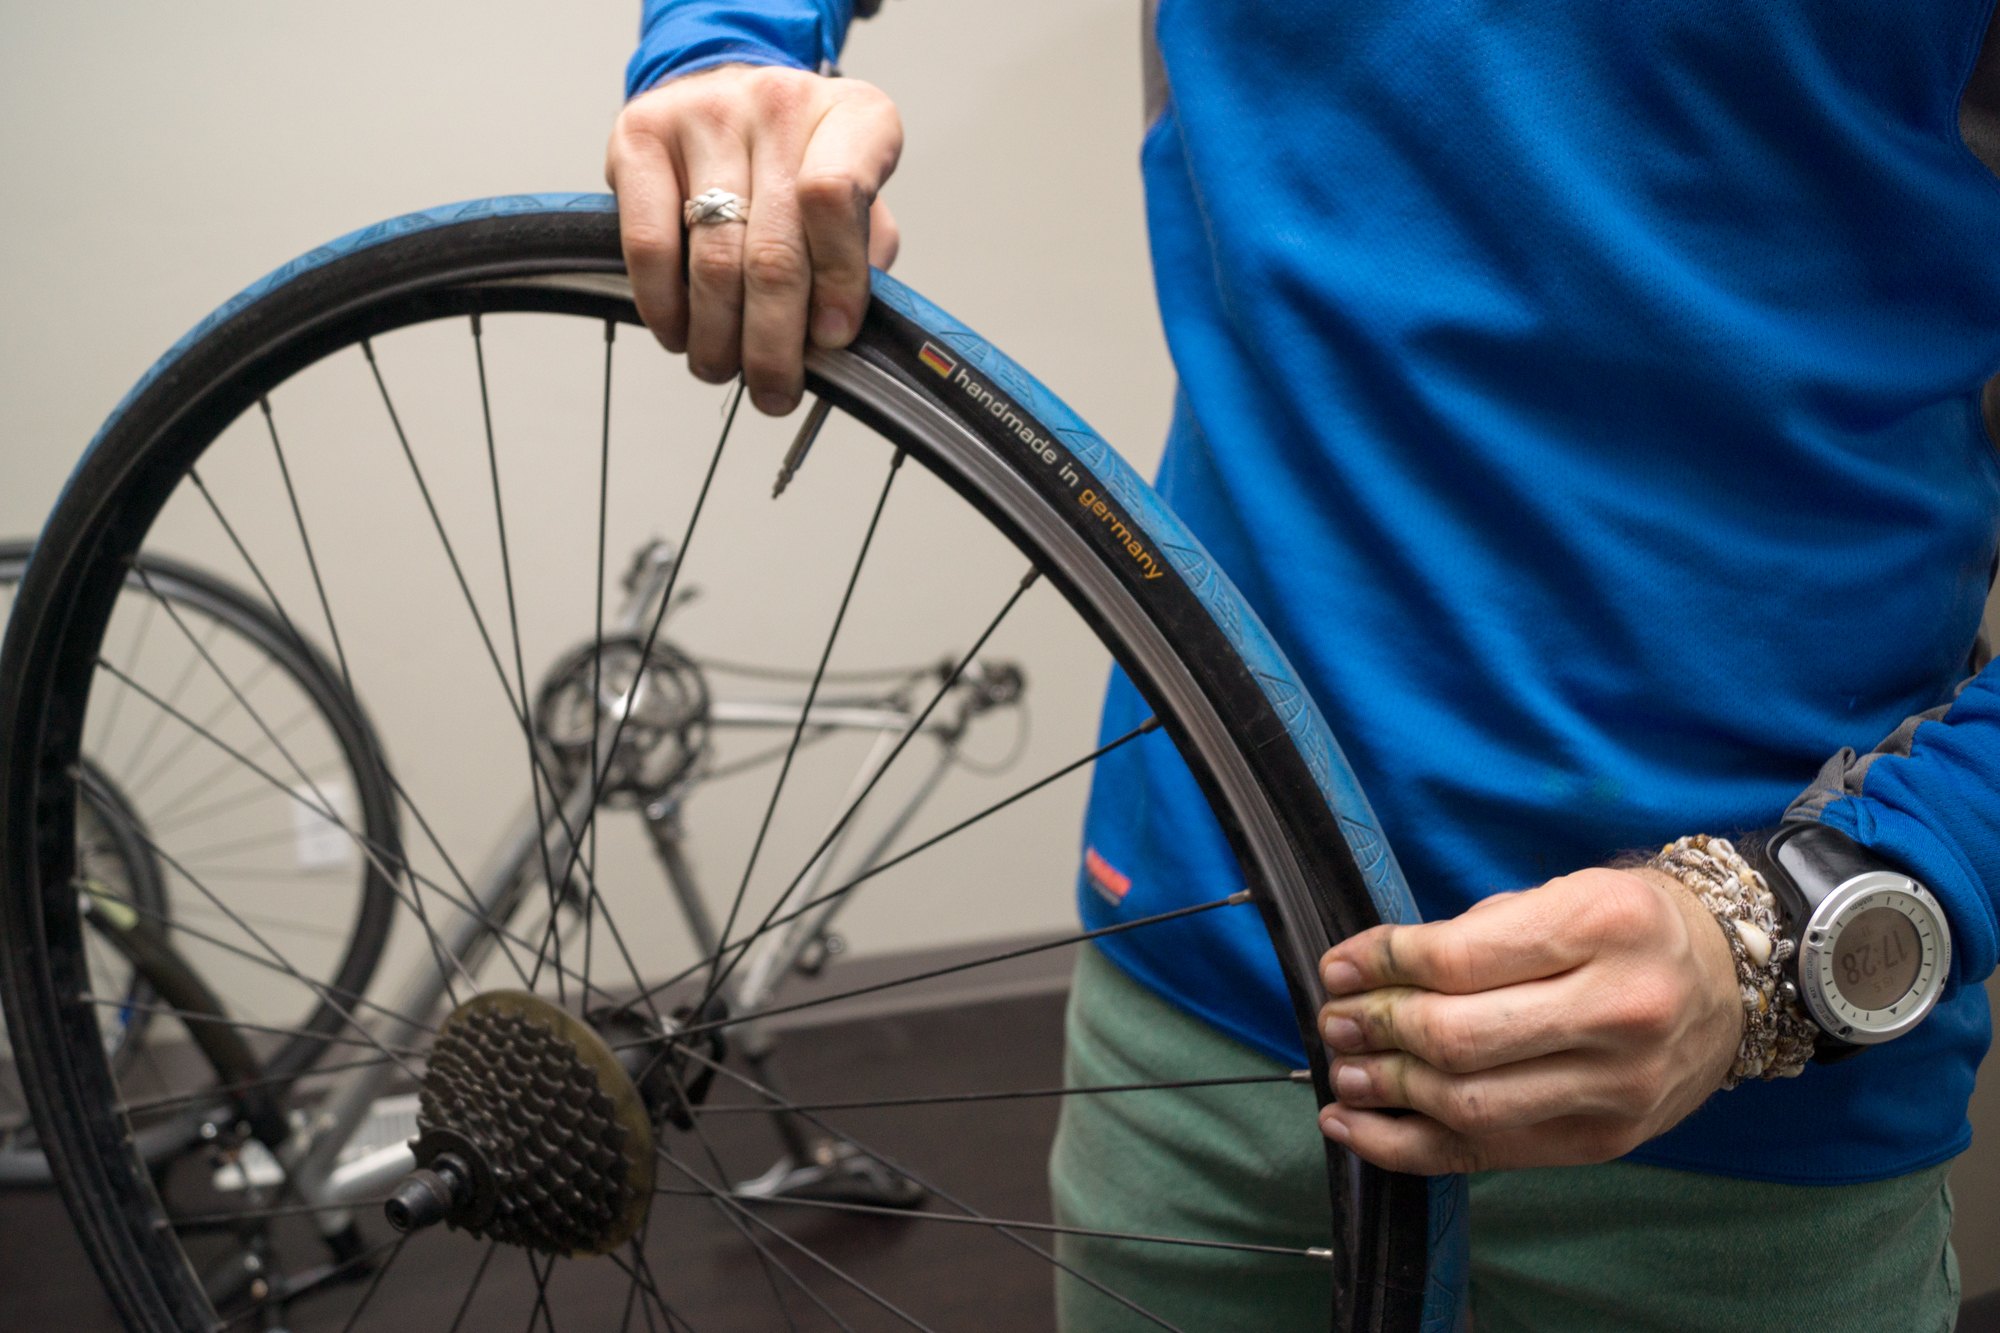
Get the beading back into the wheel. I usually start with my hands and then finish with the tire lever. Sometimes, a second tire lever is needed to keep some of the beading from slipping out as you finish getting the tire back into place, but it should not be too difficult.
Step 8: Start pumping
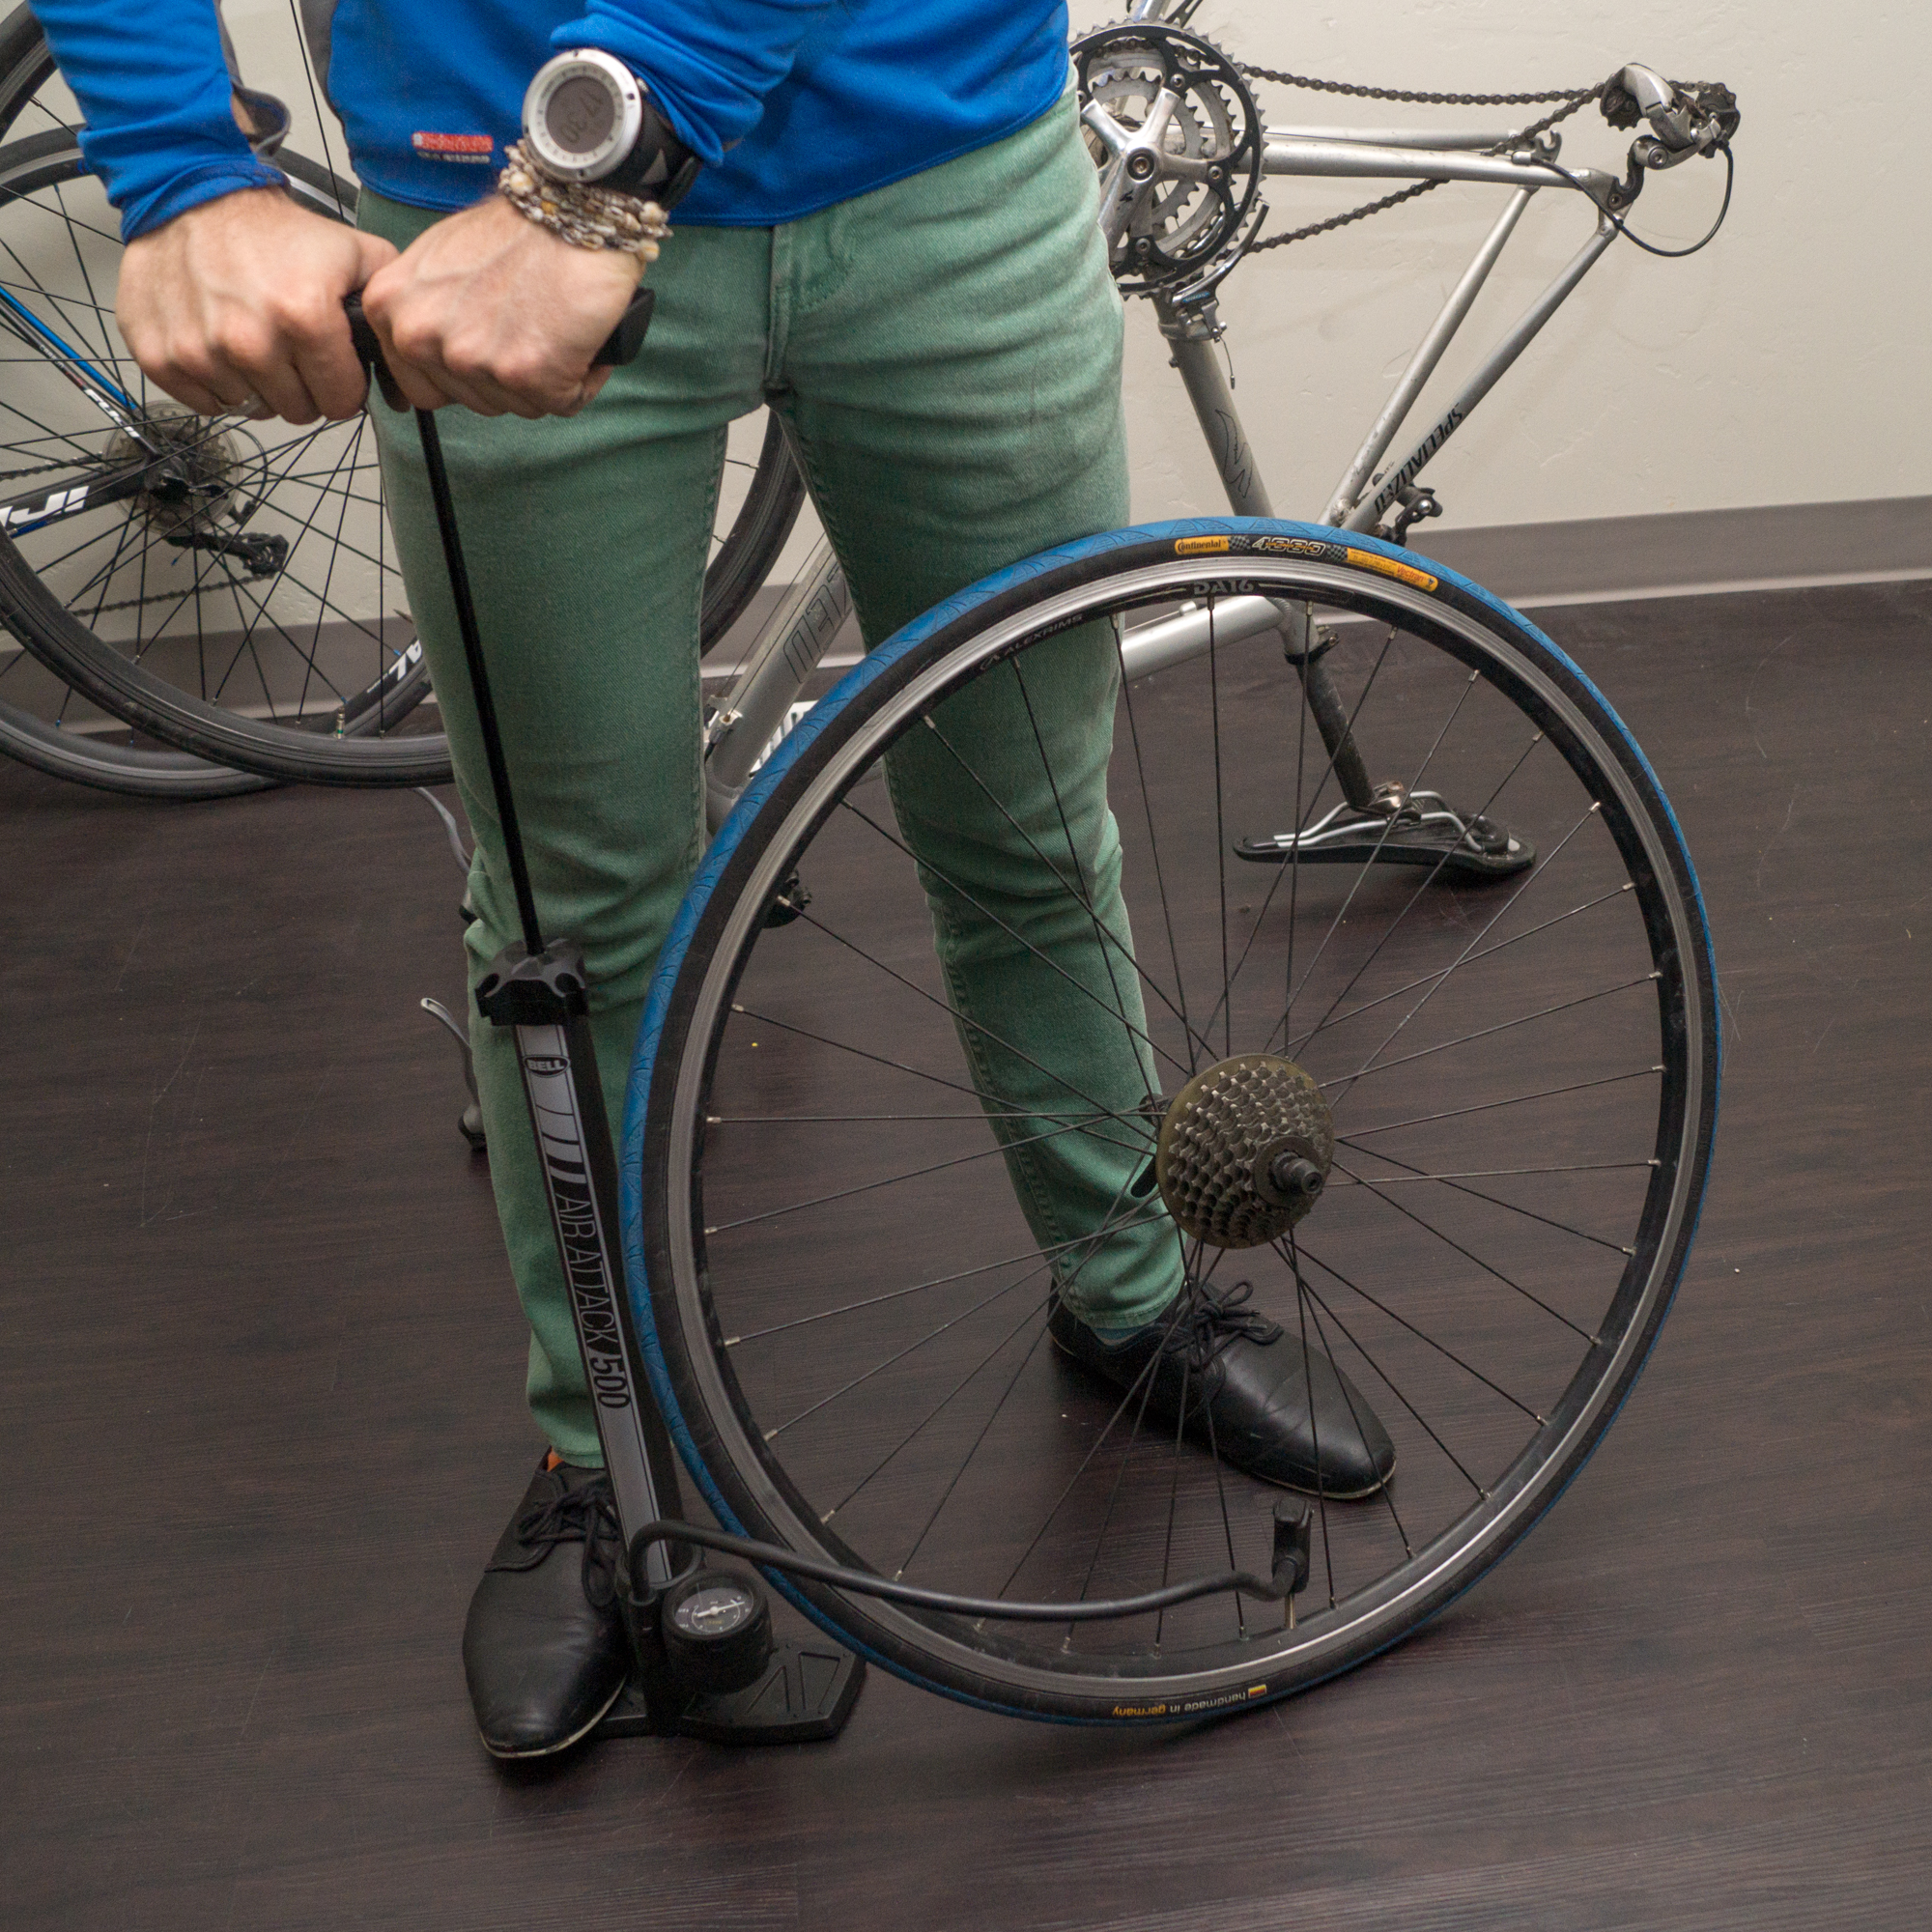
Before I put the wheel back on, I pump up the tire to about 20psi. It helps the tire redistribute the material and it works out the small folds. Sometimes, if it inflates too fast, the small kinks don’t get fixed and the tire pops, meaning I have to start the process all over again.
Step 9: Put the wheel back on
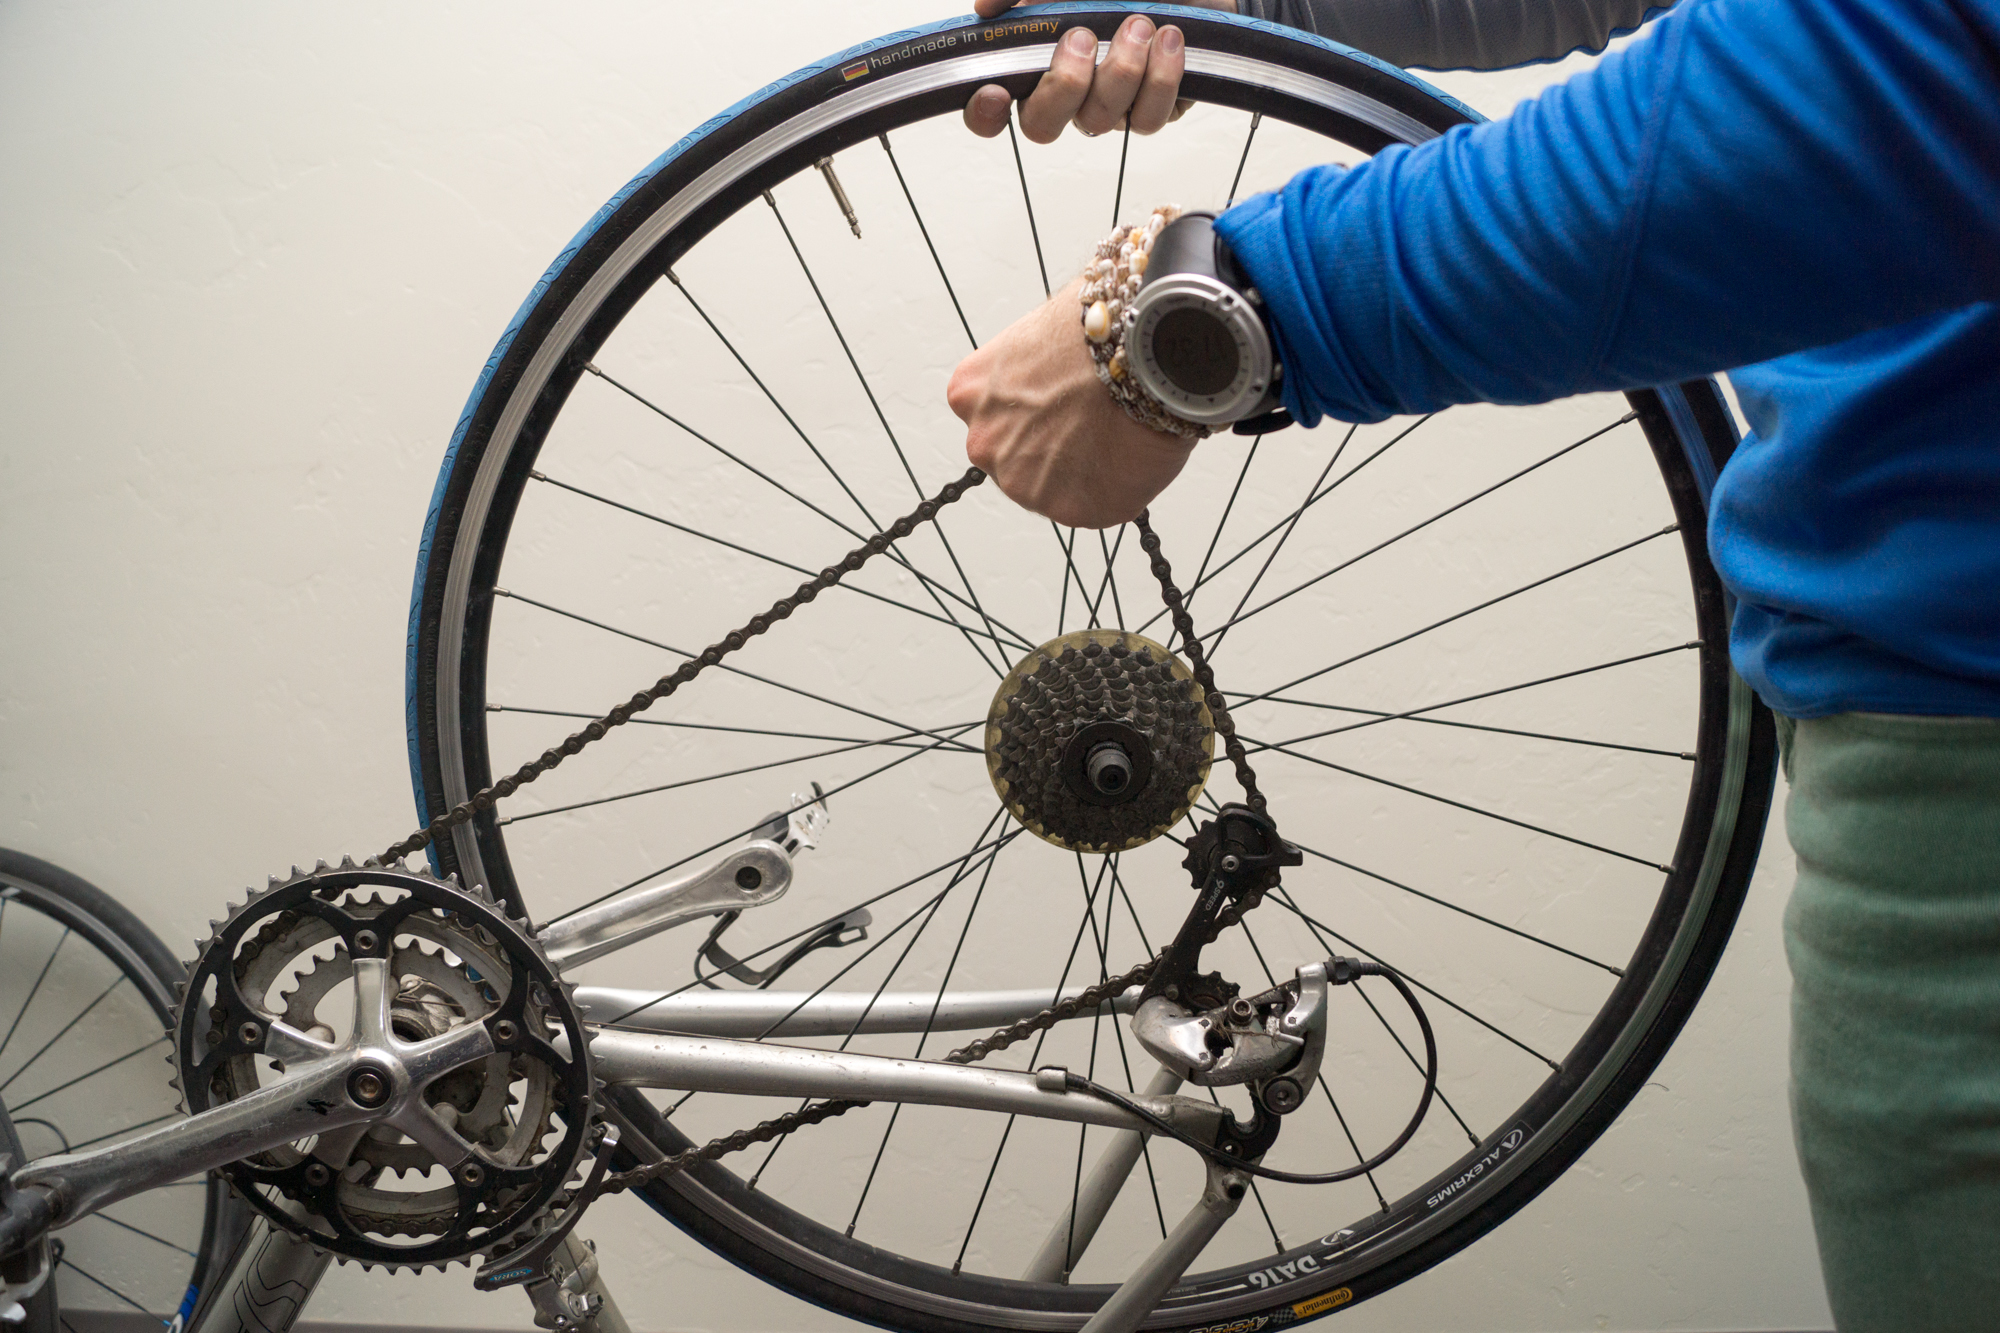
This should be easy for the front wheel, just be sure the lever is on the left side (to better even the weight of the bike.) For the rear wheel, I use the tire lever to grab the chain to make it easier to get the cassette into place. Then, simply put the wheel in its place and lock it in with the quick release. You may have to tighten the bolt a little before you lock in the quick release, just be sure that it should be a little difficult to tighten the lever. The tighter it is, the less likely of a chance that your wheel will fall out while on your ride.
Step 10: Finish pumping and go ride!
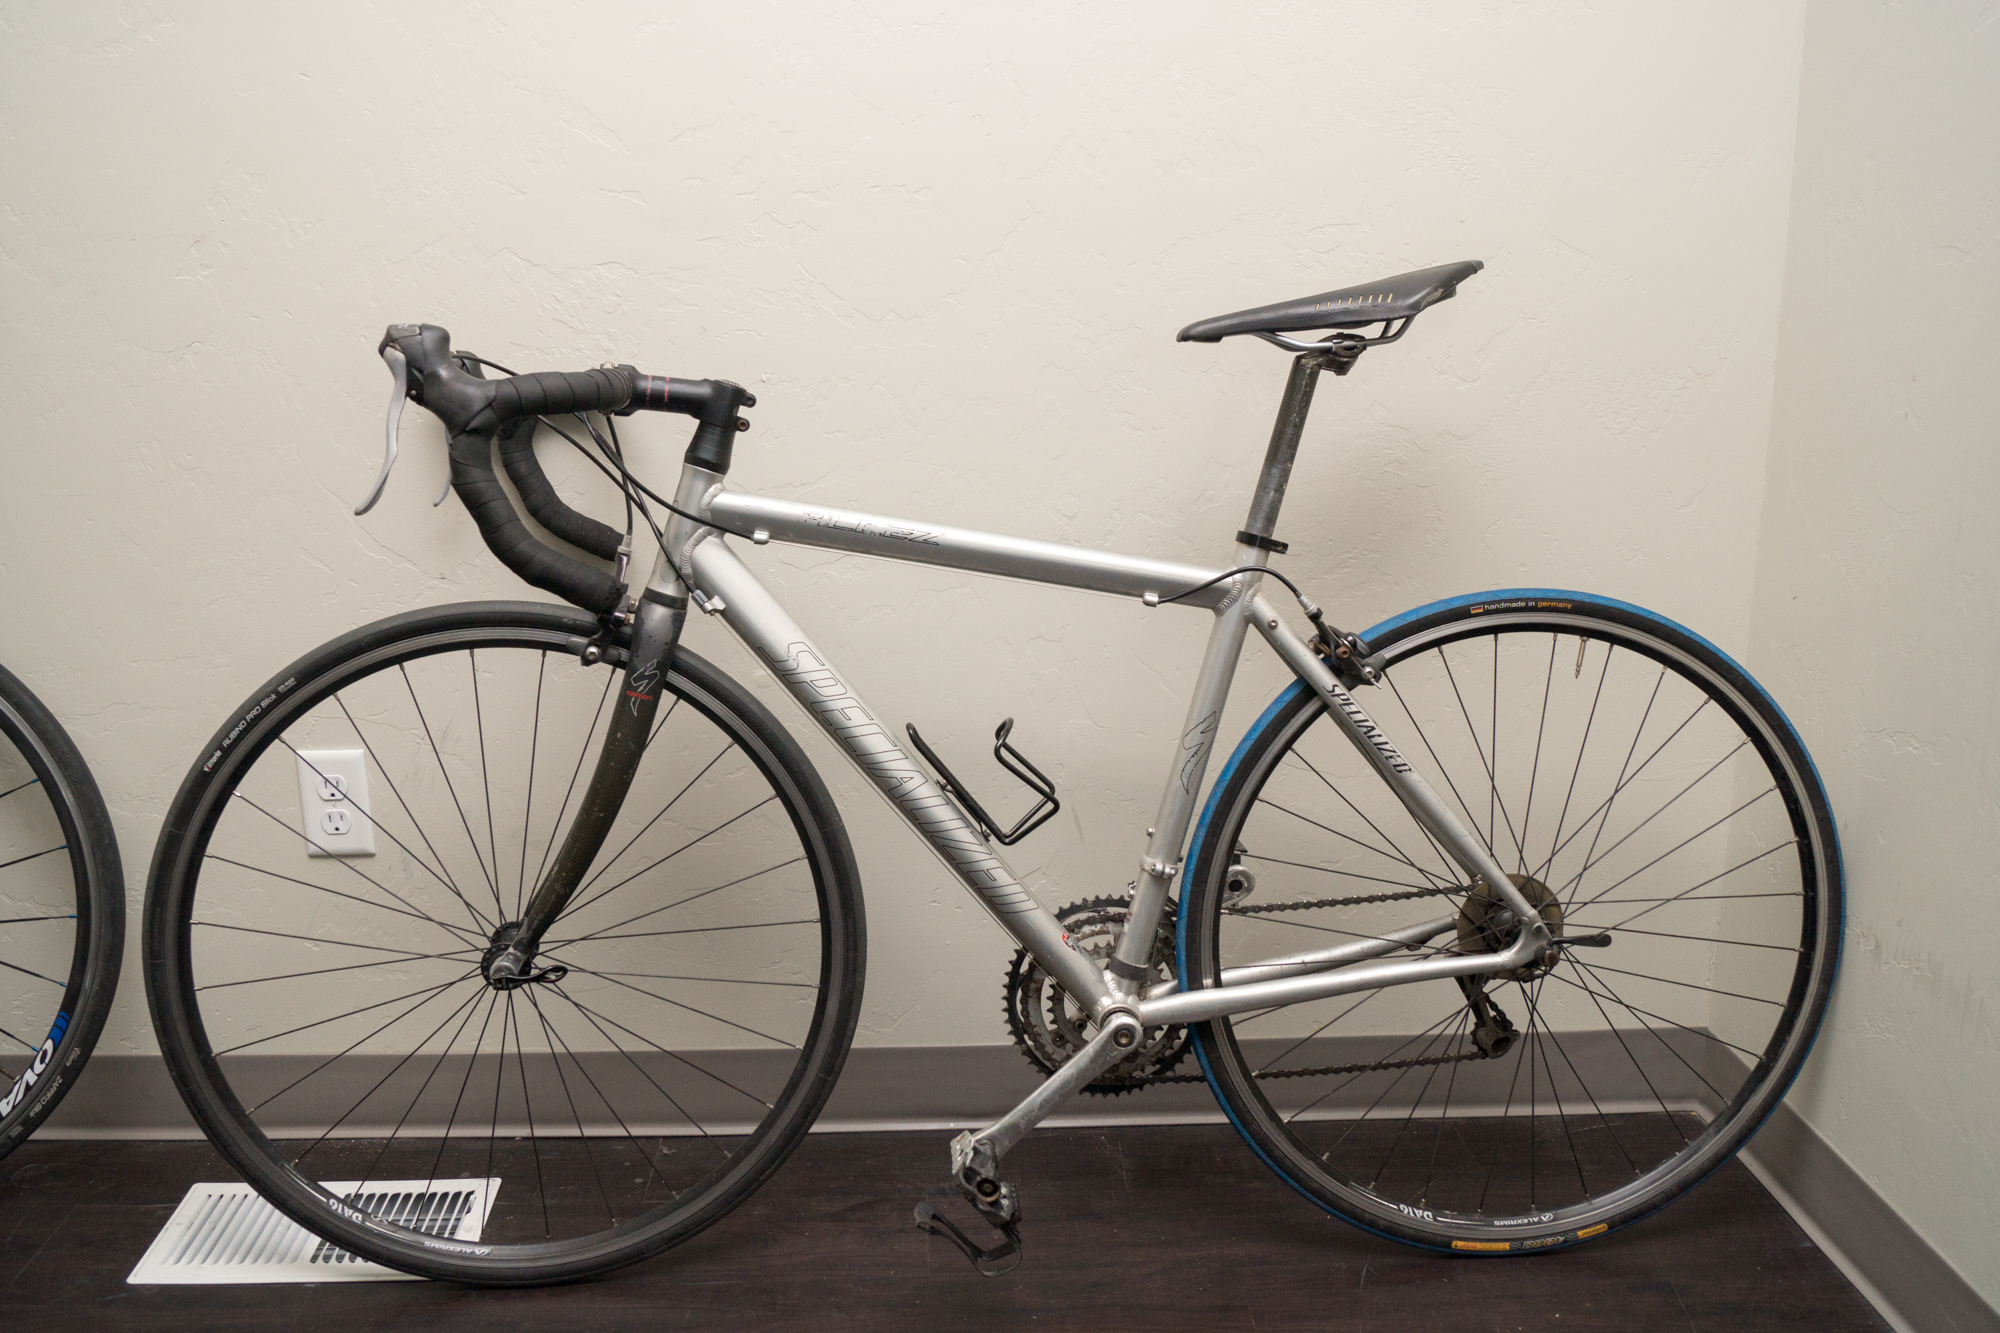
Now that everything is all situated, you are ready to ride. Pump up your tire to the psi marked on the tire and you are good to go. Happy riding!
Great blog! I truly really like how it is simple on my eyes too as the details are well written. I am wondering how I may be notified whenever a brand new post continues to be produced. I have subscribed for your rss feed which must do the trick! have a good day!